
Online Ordering Help Guide
Introduction
This document has been created to provide a help guide to using the Online Ordering system. It explains the functionality of the different parts of the system. The software allows you as a user to select, personalise and order products including stationary, P739 and P4605 products.
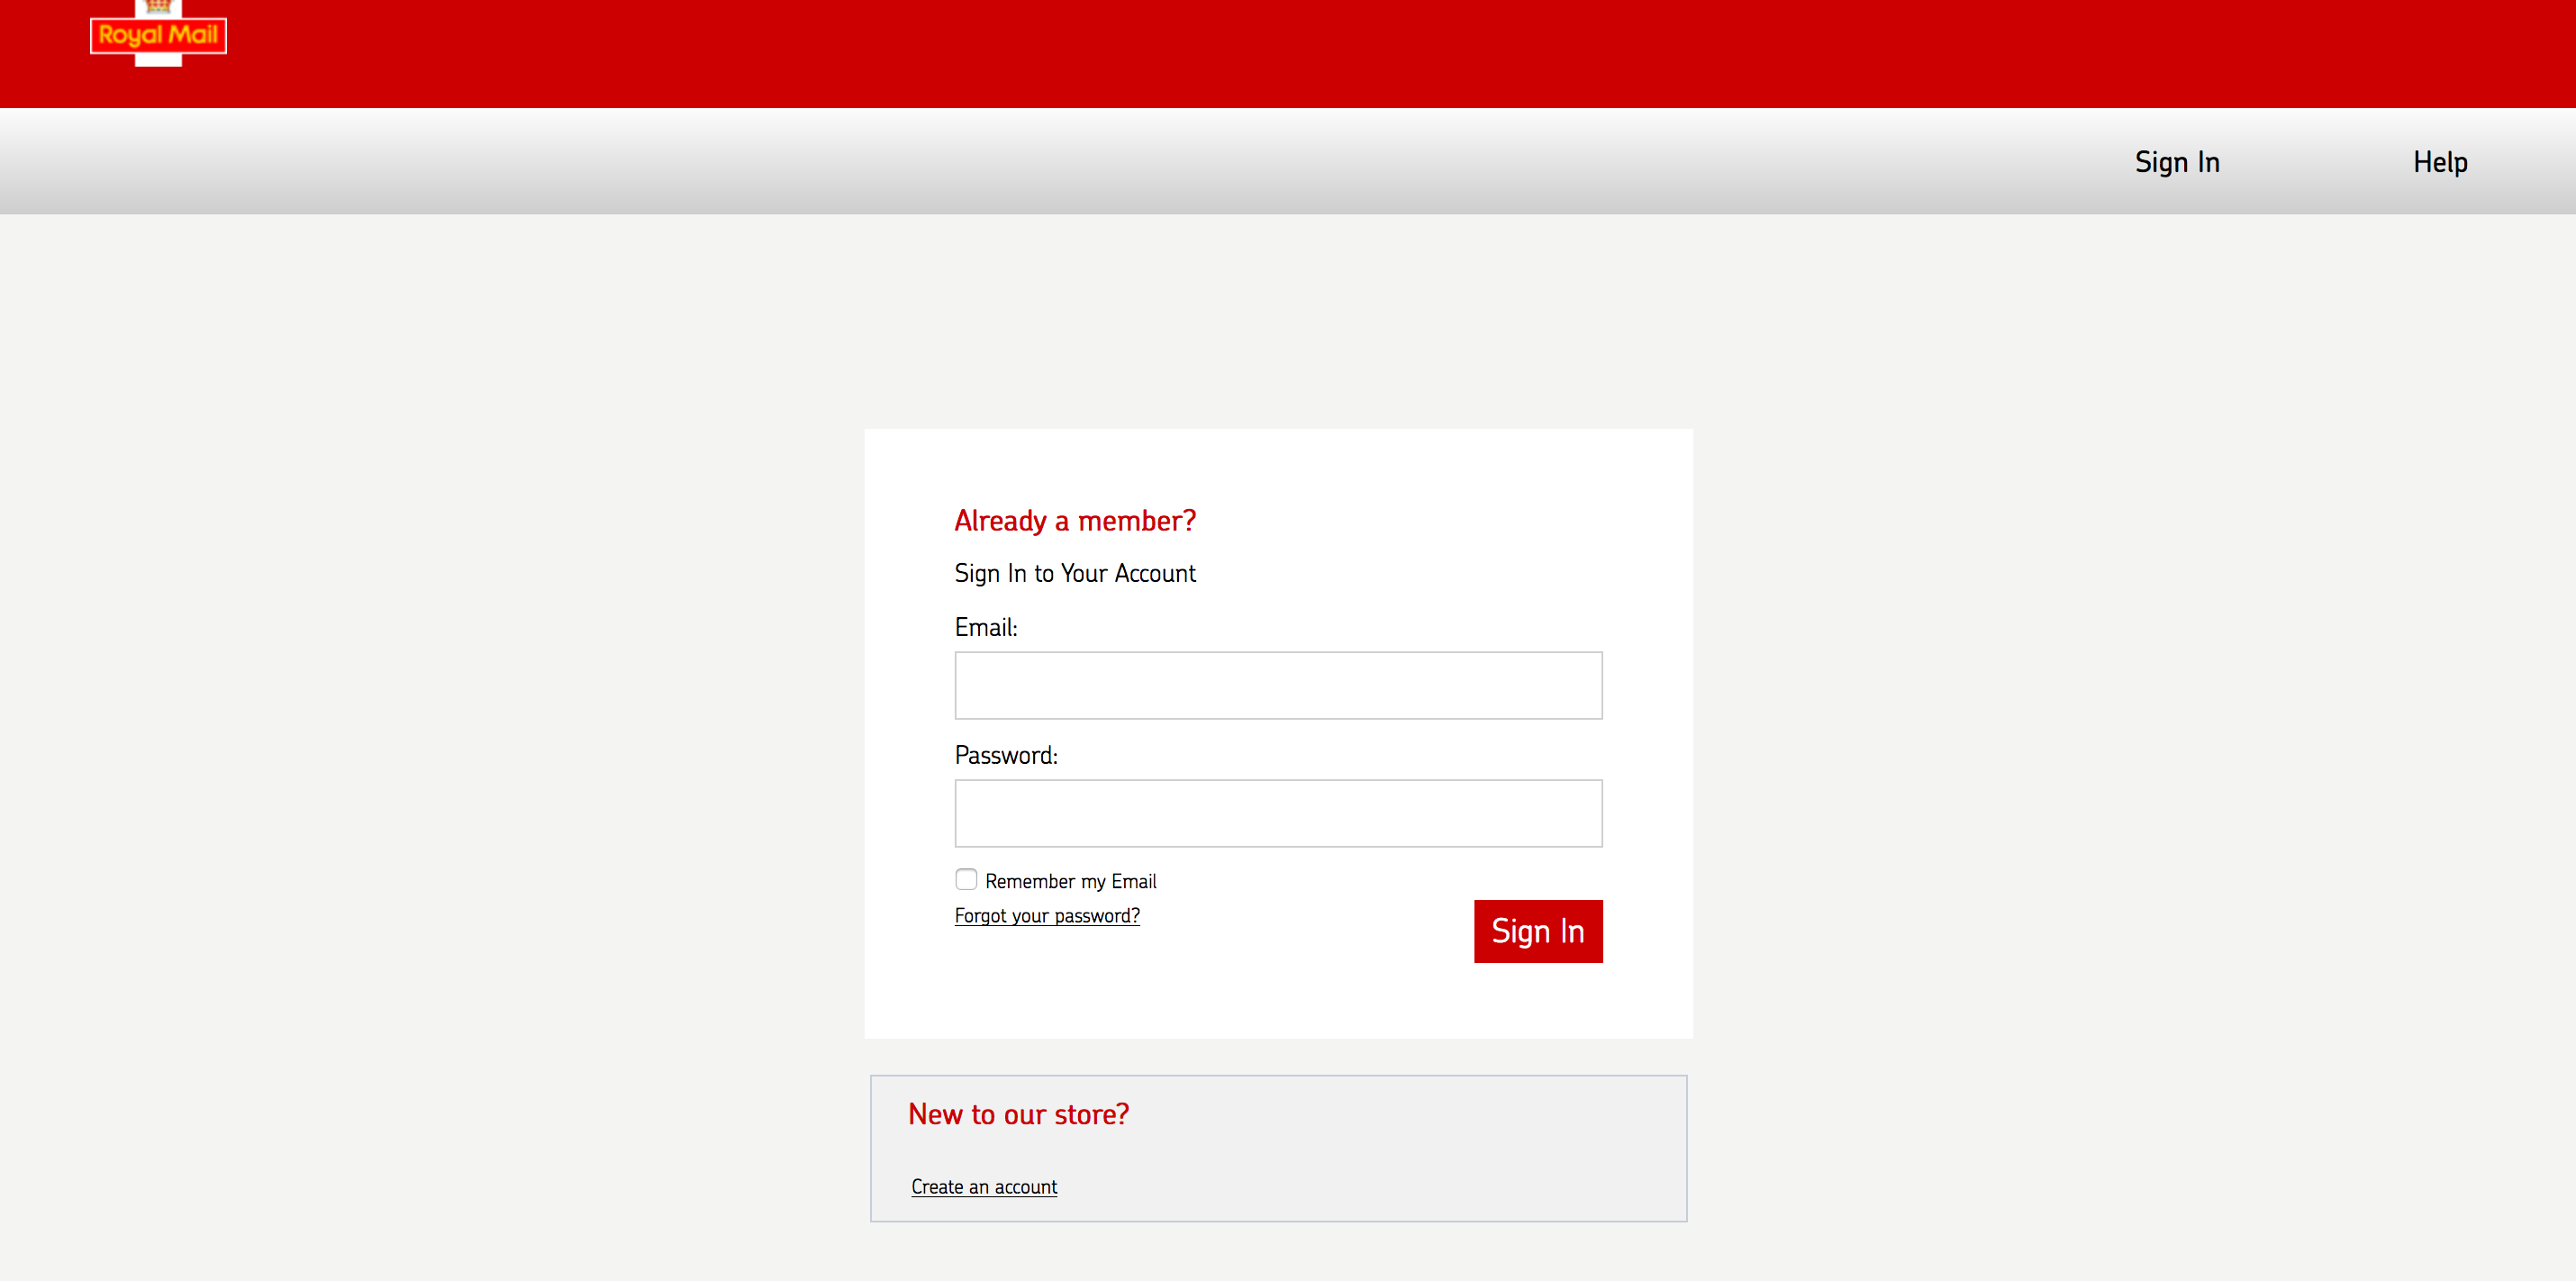
‘Signing into Your Account’
1. Registering your account.. You will need to creat an account to access the products, the account information will require a valid email address. User accounts can be created by any user and the password format must be made up of a minimum of 8 characters. This must include at least one Capital letter, one lowercase letter and one number.
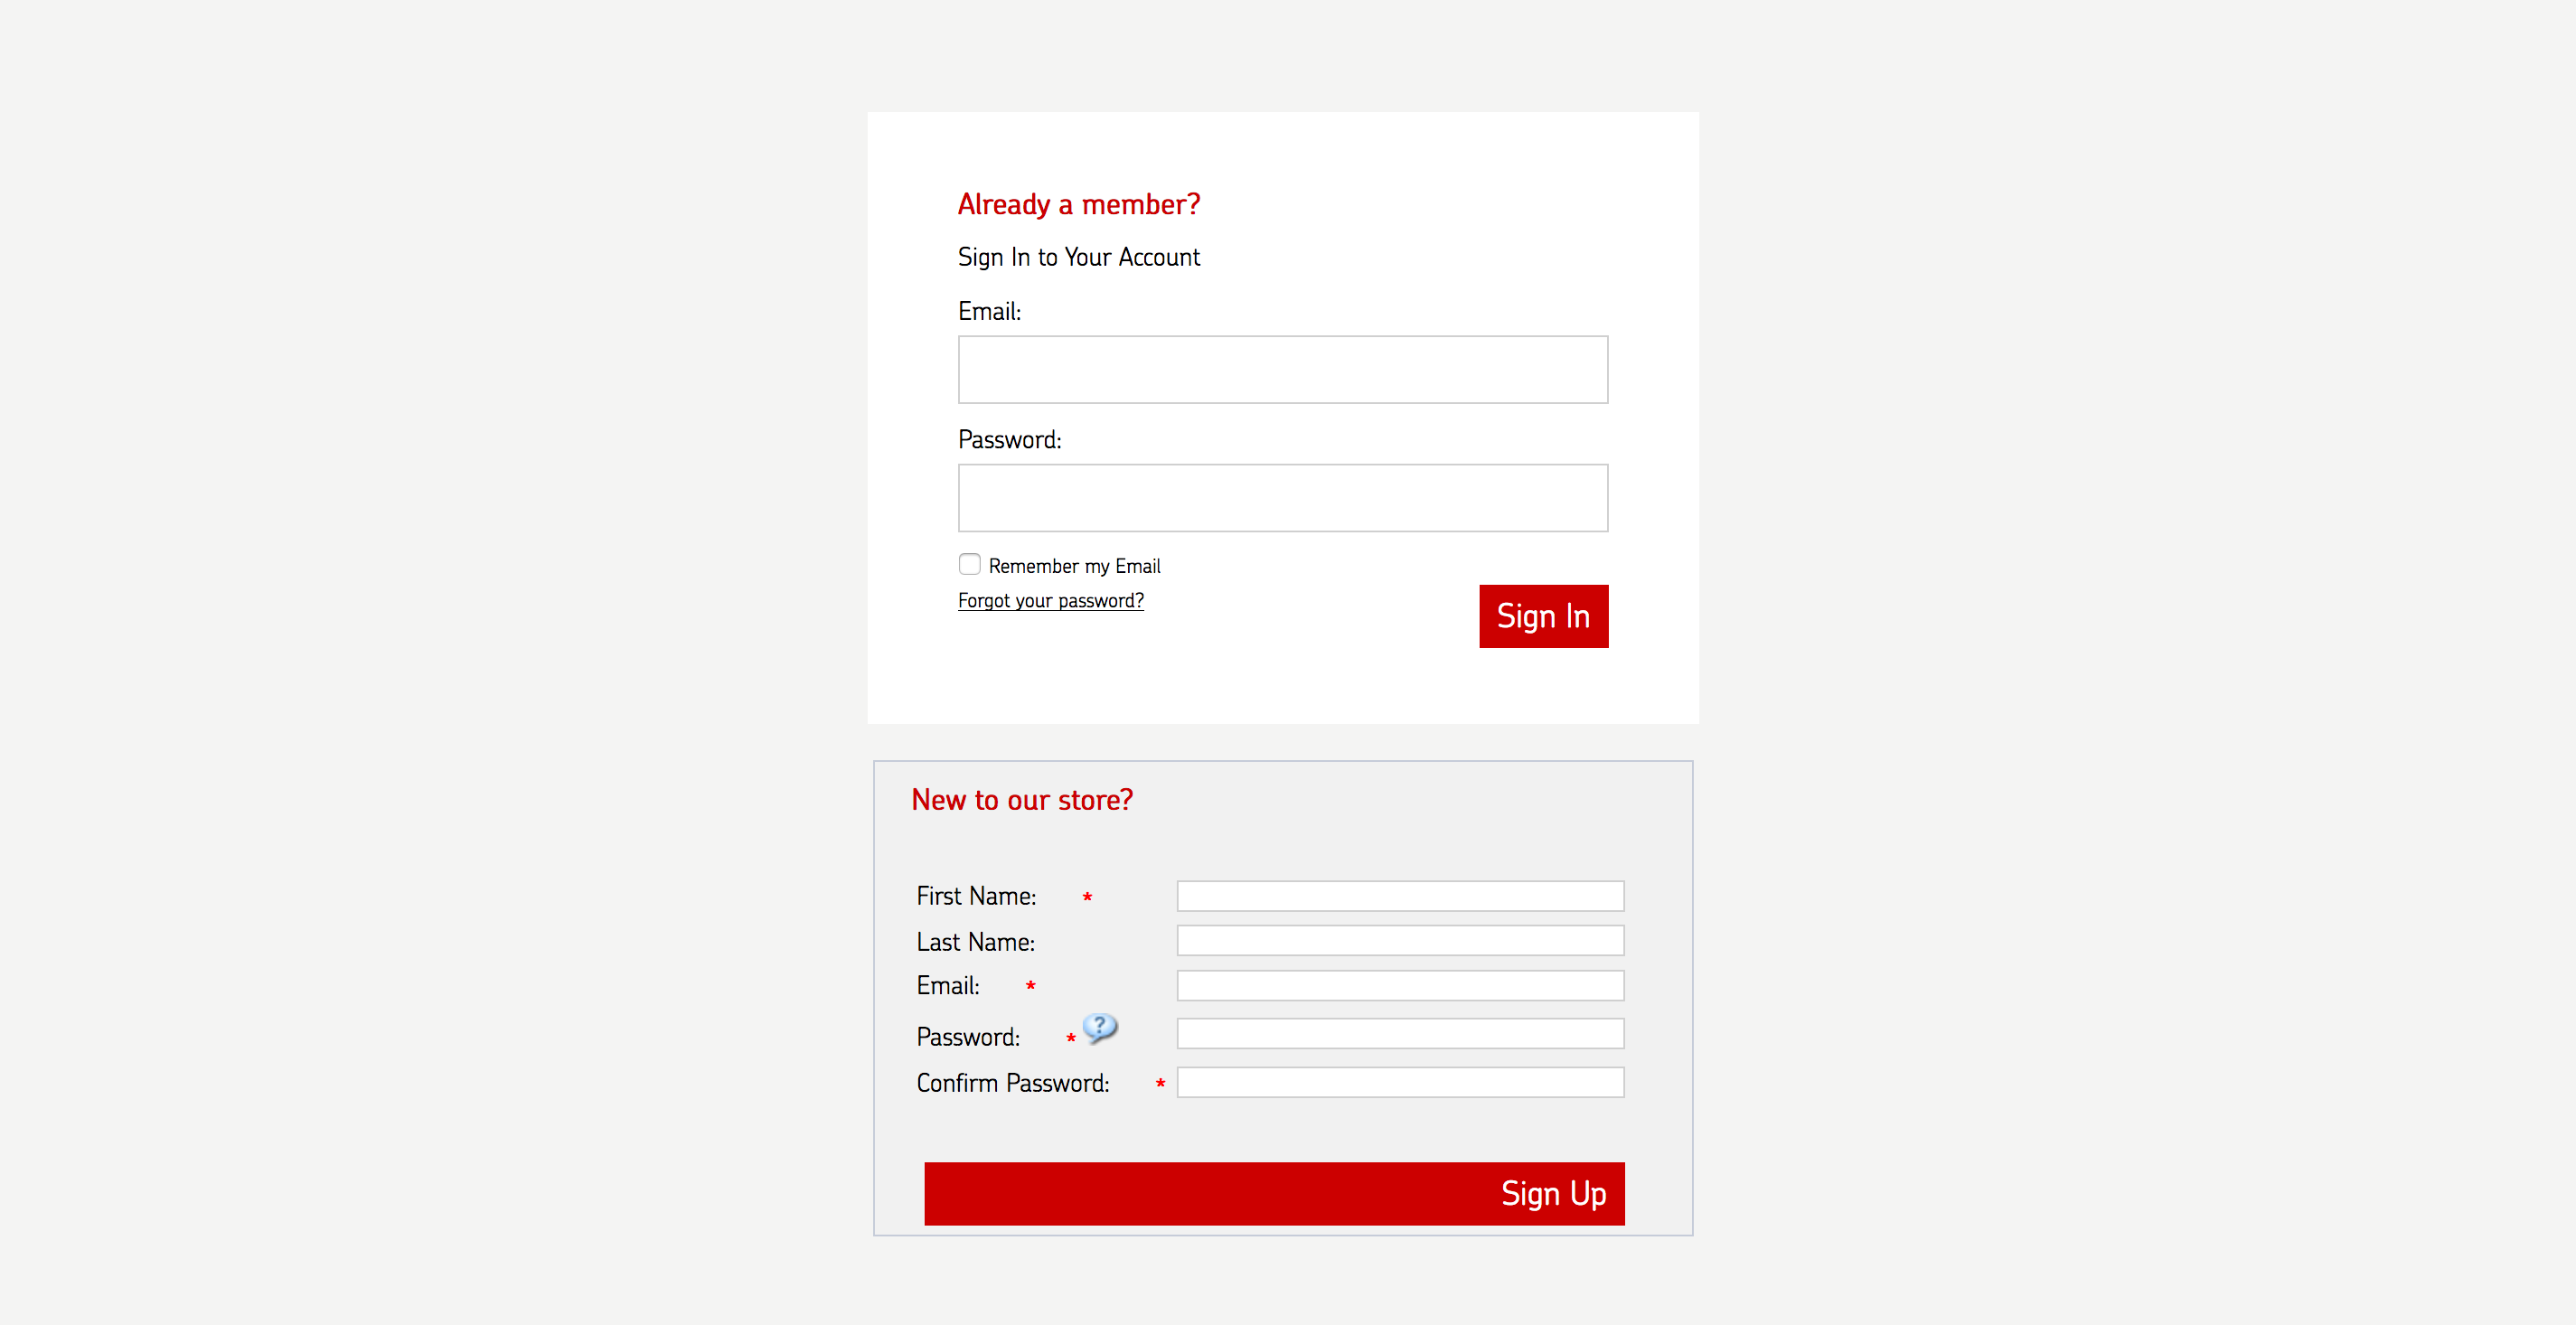
2. Email.. In order to access the site, you will need to input your Royal Mail Email address into the ‘Email’ box
3. Password Please enter your Royal Mail email address details to into this box. The password has been provided to you by Royal Mail (or initial) but this could have been disabled by the user, and changed to a new password.
Home Page
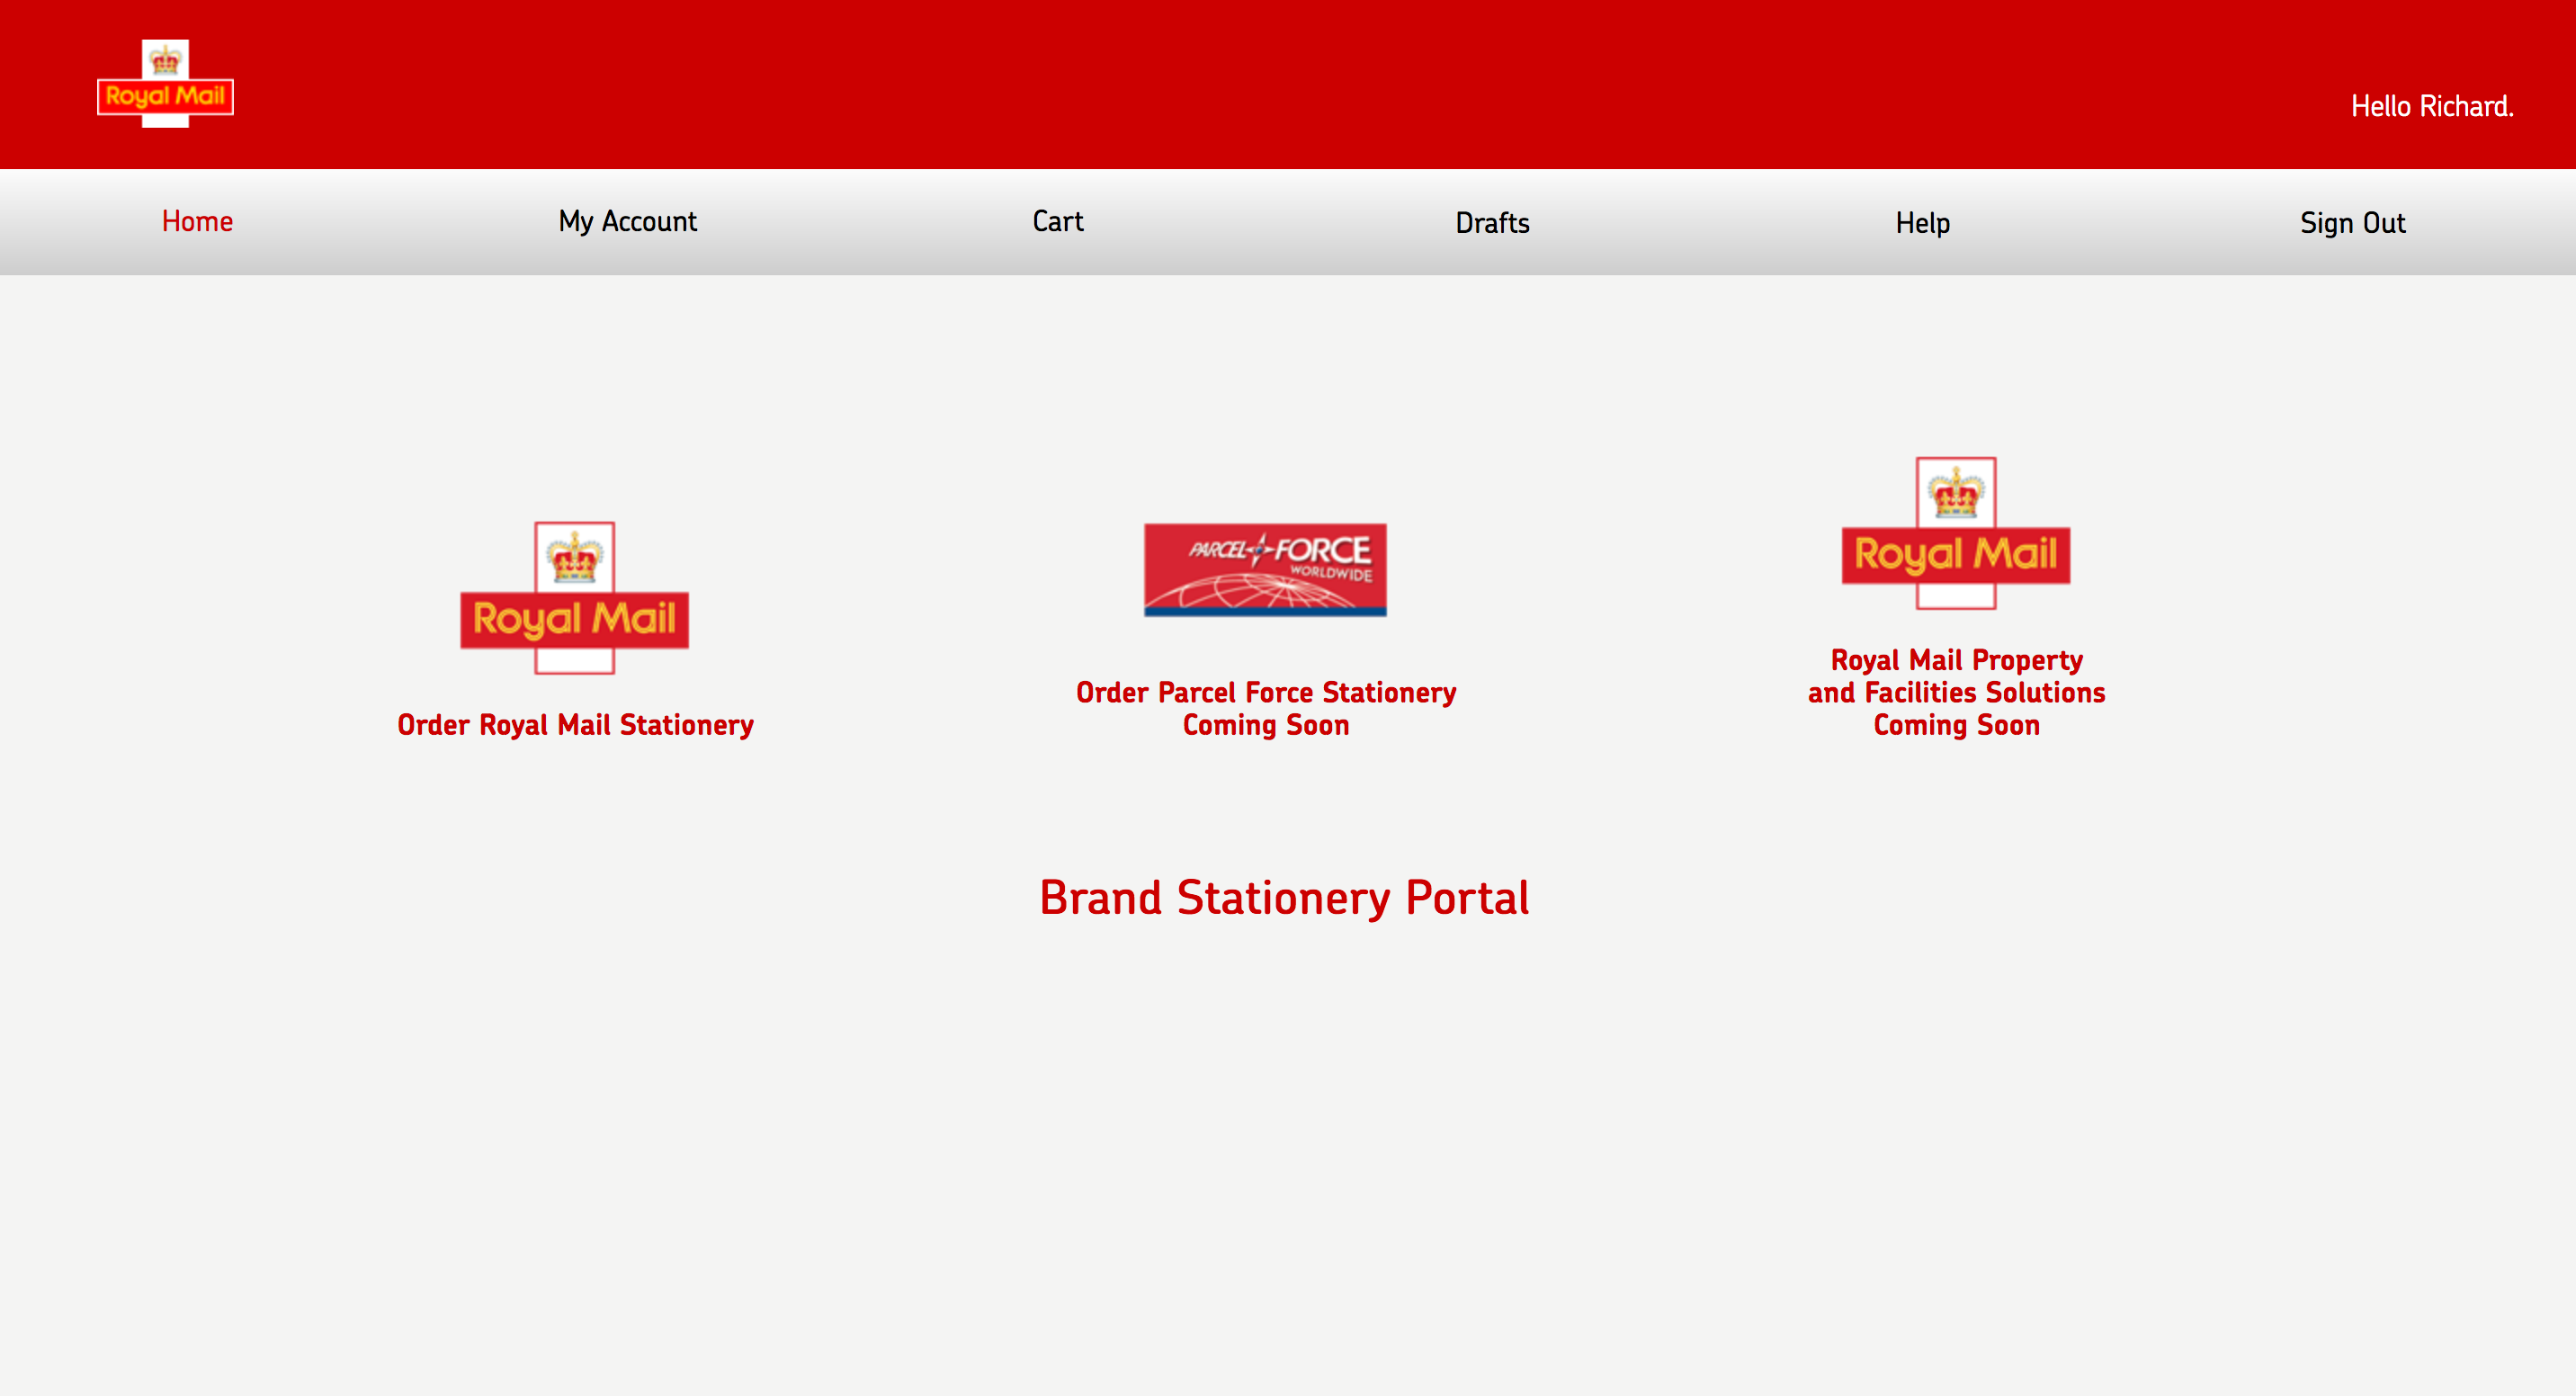
This is the home page which provides you with an introduction to ‘Royal Mail's Online Ordering system’. This provides links to ‘Stationary products, P739 and P4605 items’ and an email link to provide your feedback on the toolkit. We welcome feedback so that the system can be tailored to the users needs. Simply click on the link at tell us your thoughts on future development, ideas on assets etc.
Functions
Along the top of the screen contain various button including ‘My Account’ containing the individual’s account information; Orders awaiting approval which is ready for check out; drafts where part completed items are still under construction; help guides where help guide is available and sign out to close the toolkit.
Products and Resources
The home screen is divided into three specific areas. Currently only the Royal Mail Stationary section is populated with live valid products. Upon opening these folders there will be different products to choose from. Where we do not have content under a particular product e.g. Royal Mail Property and Facilities Solutions, the folder will contain a ‘Coming Soon’ placeholder, this will be replaced with a selection of products when they become available.
Step by Step Guide to Ordering a product
Ordering Stationary
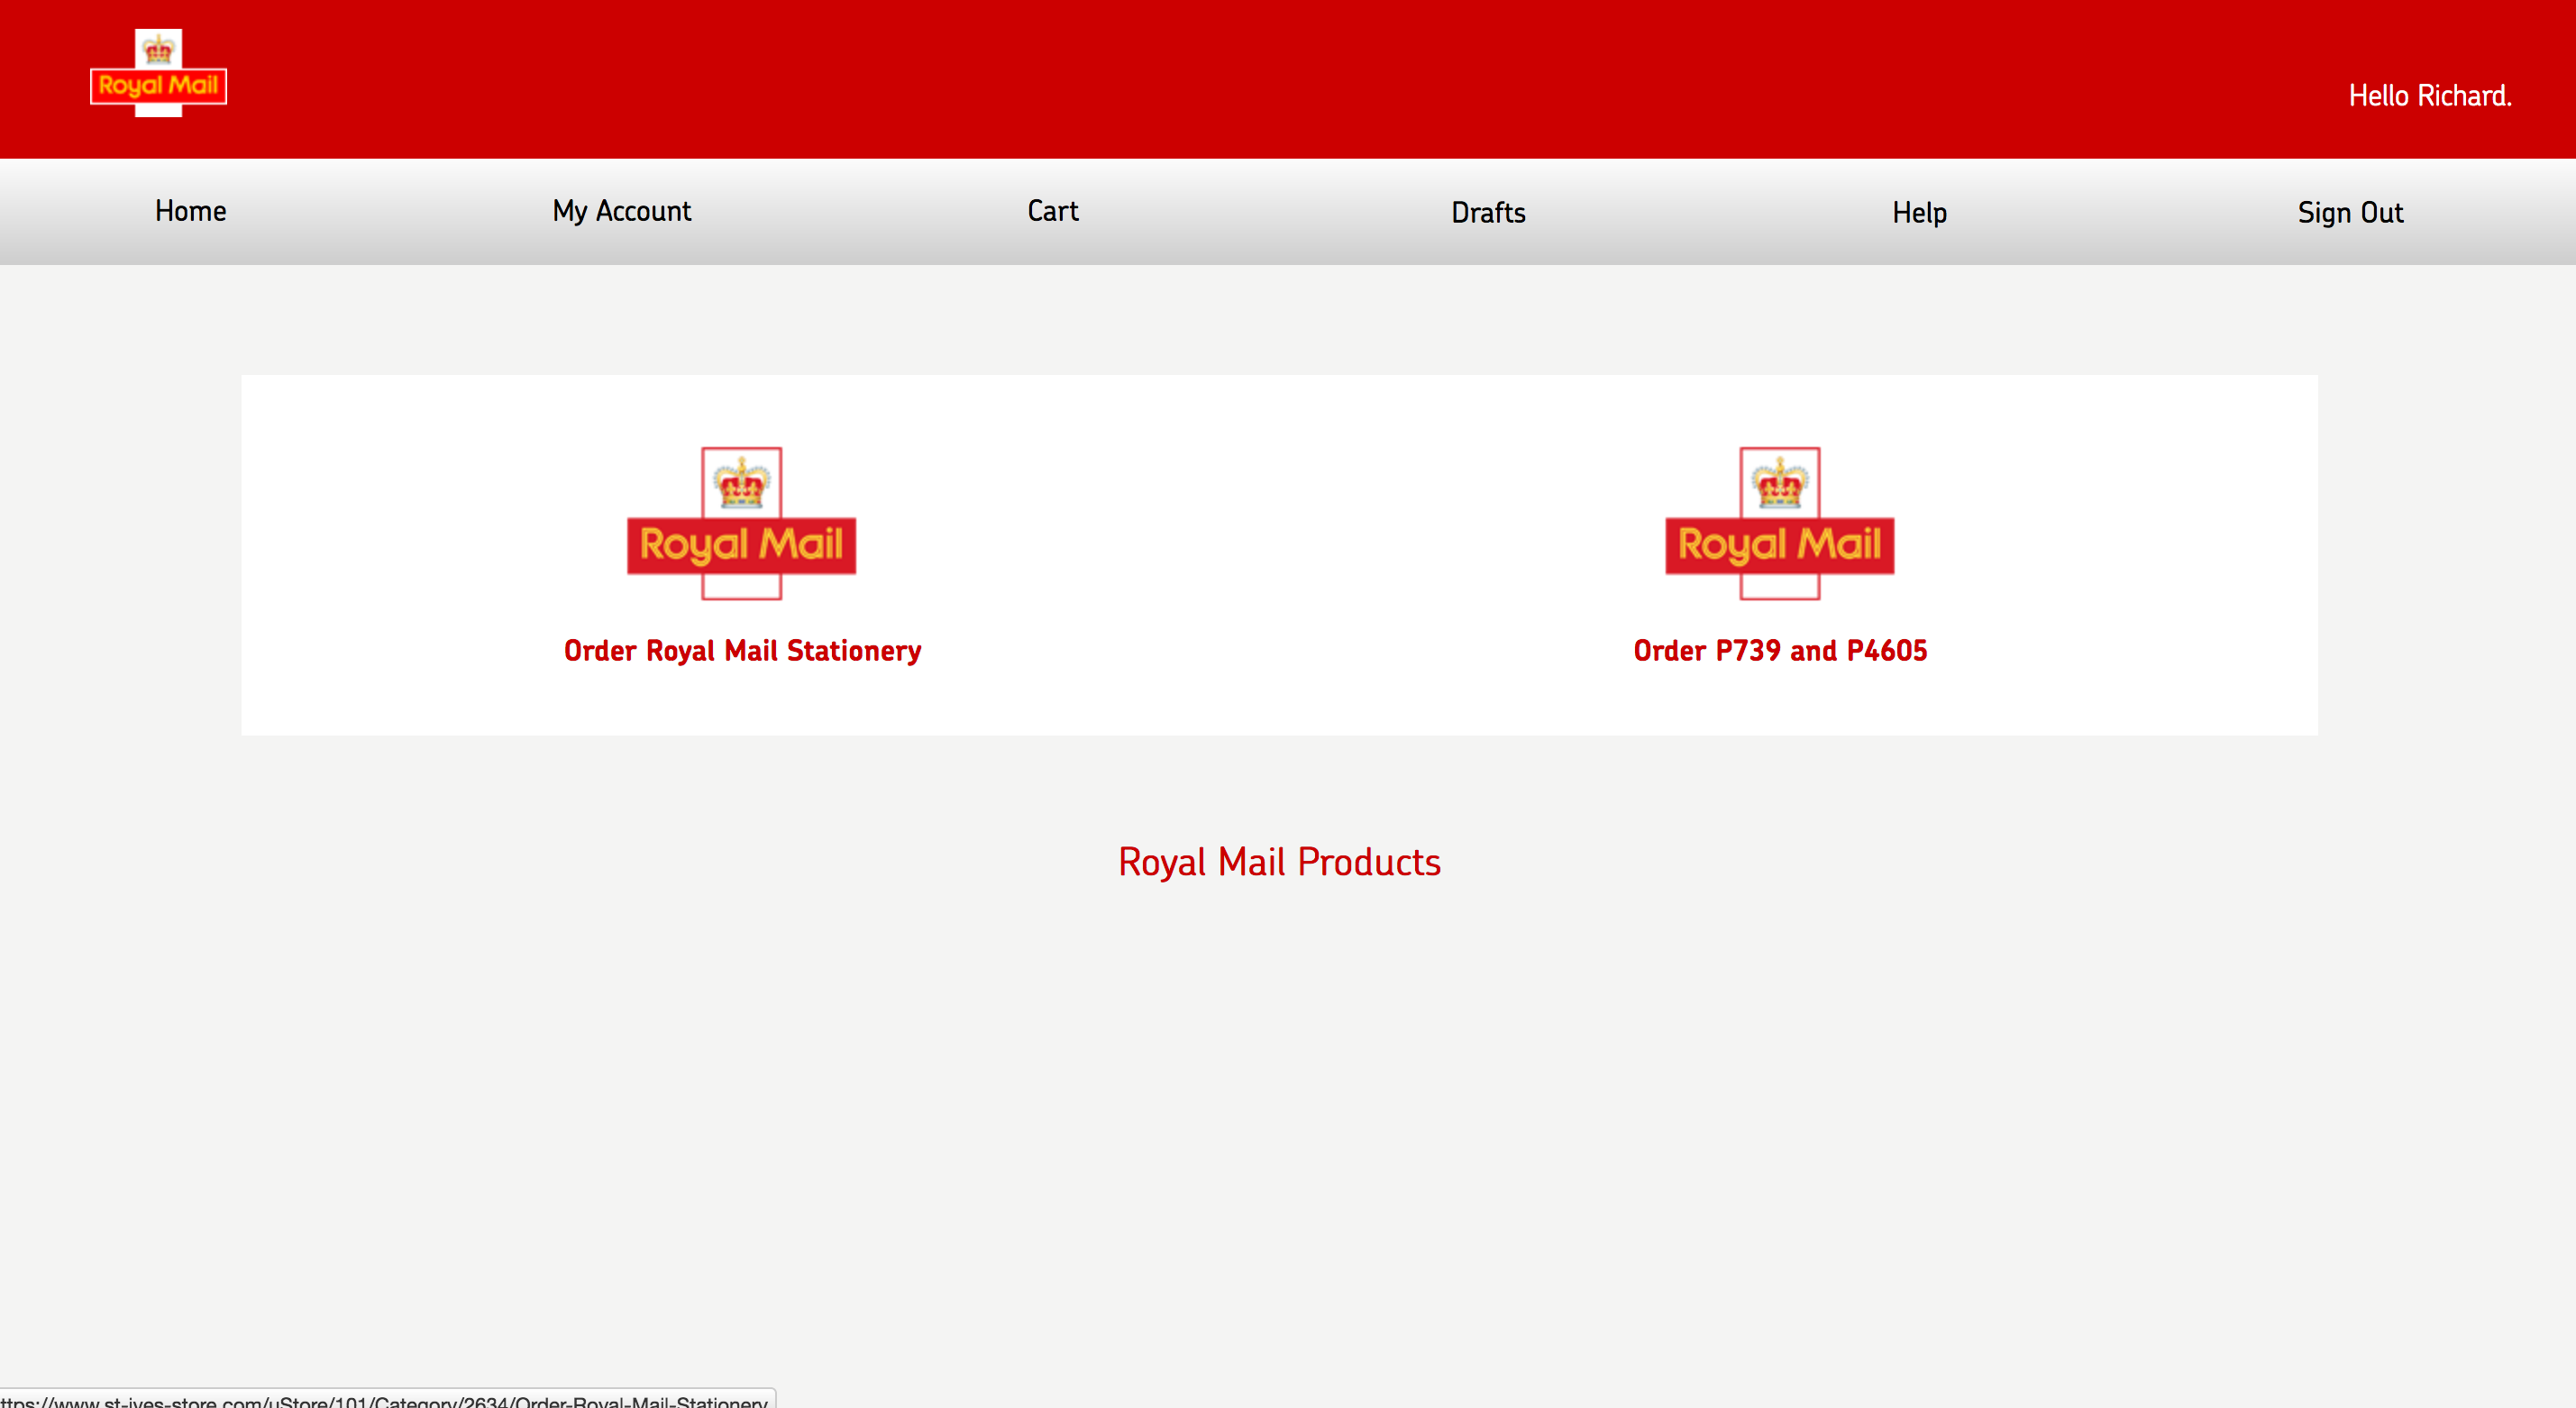
1. Once you have clicked the Royal Mail Stationary link on the home page, you will then be presented with two sub catagories, Stationary and P739 & P4605 products.
2. Select the stationary link to be presented with a selection of Stationary products
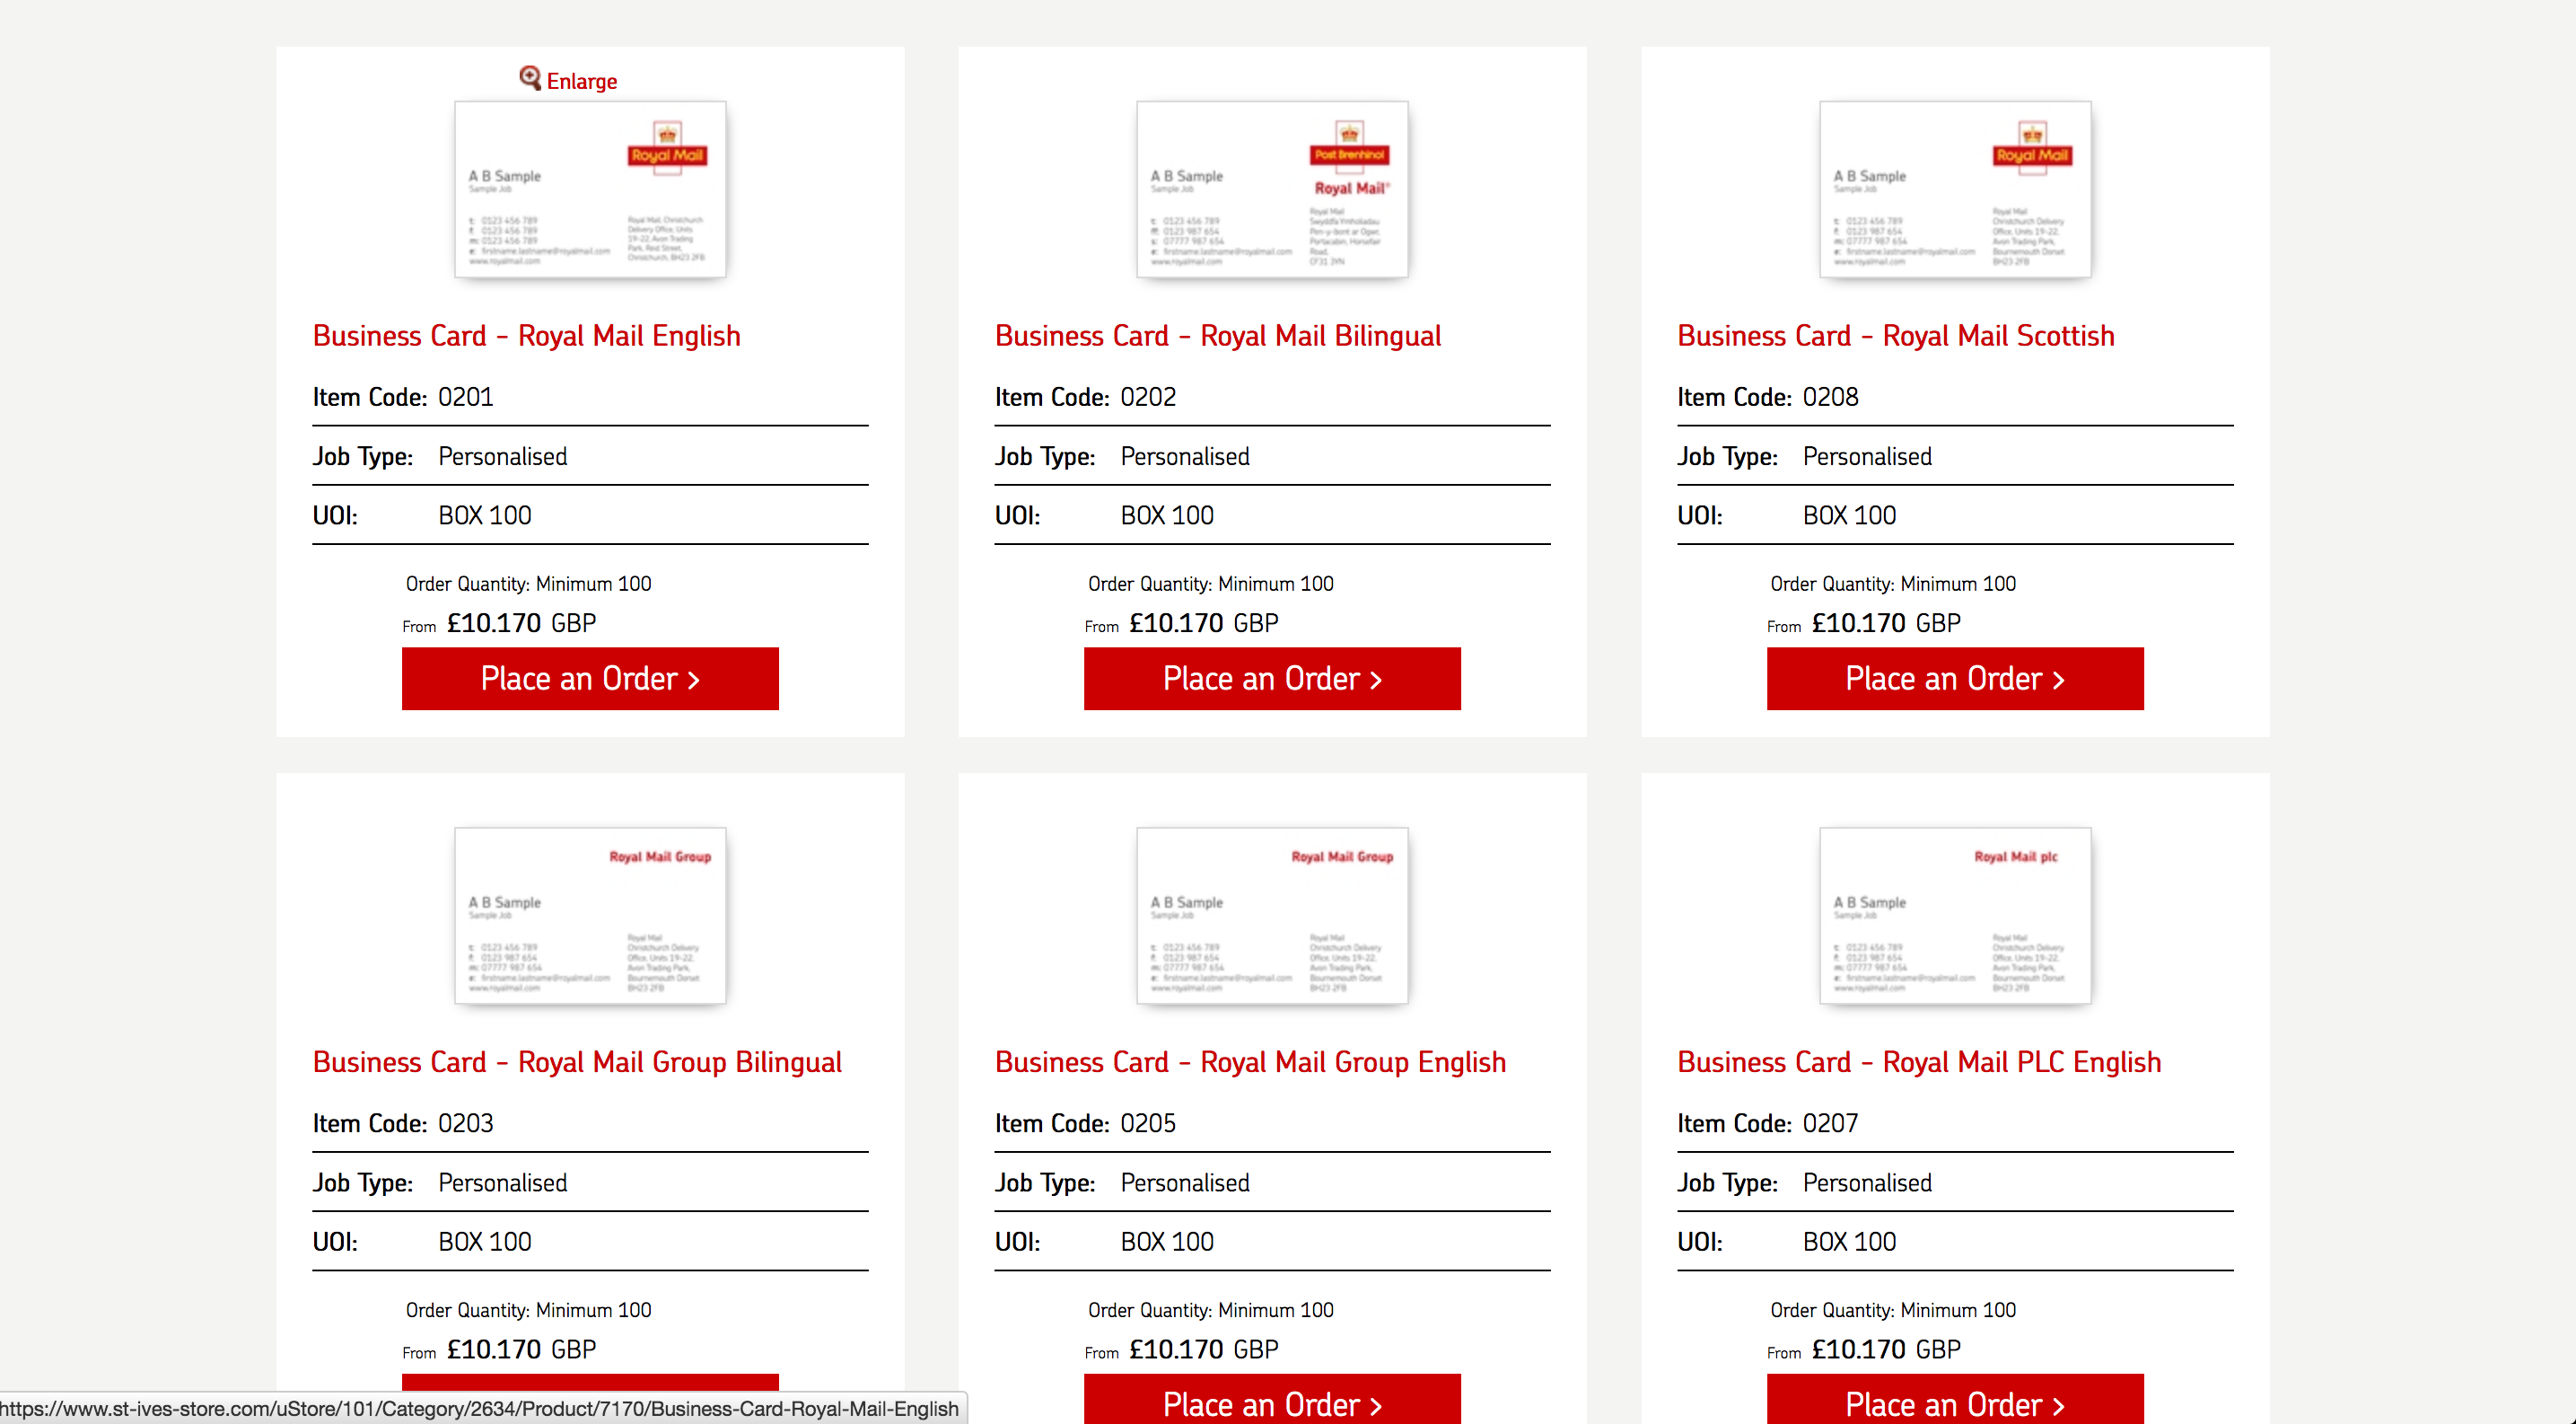
3. Once you have identified the correct product required, click on ‘Place an Order’ to select the product you wish to use.
Product Detail
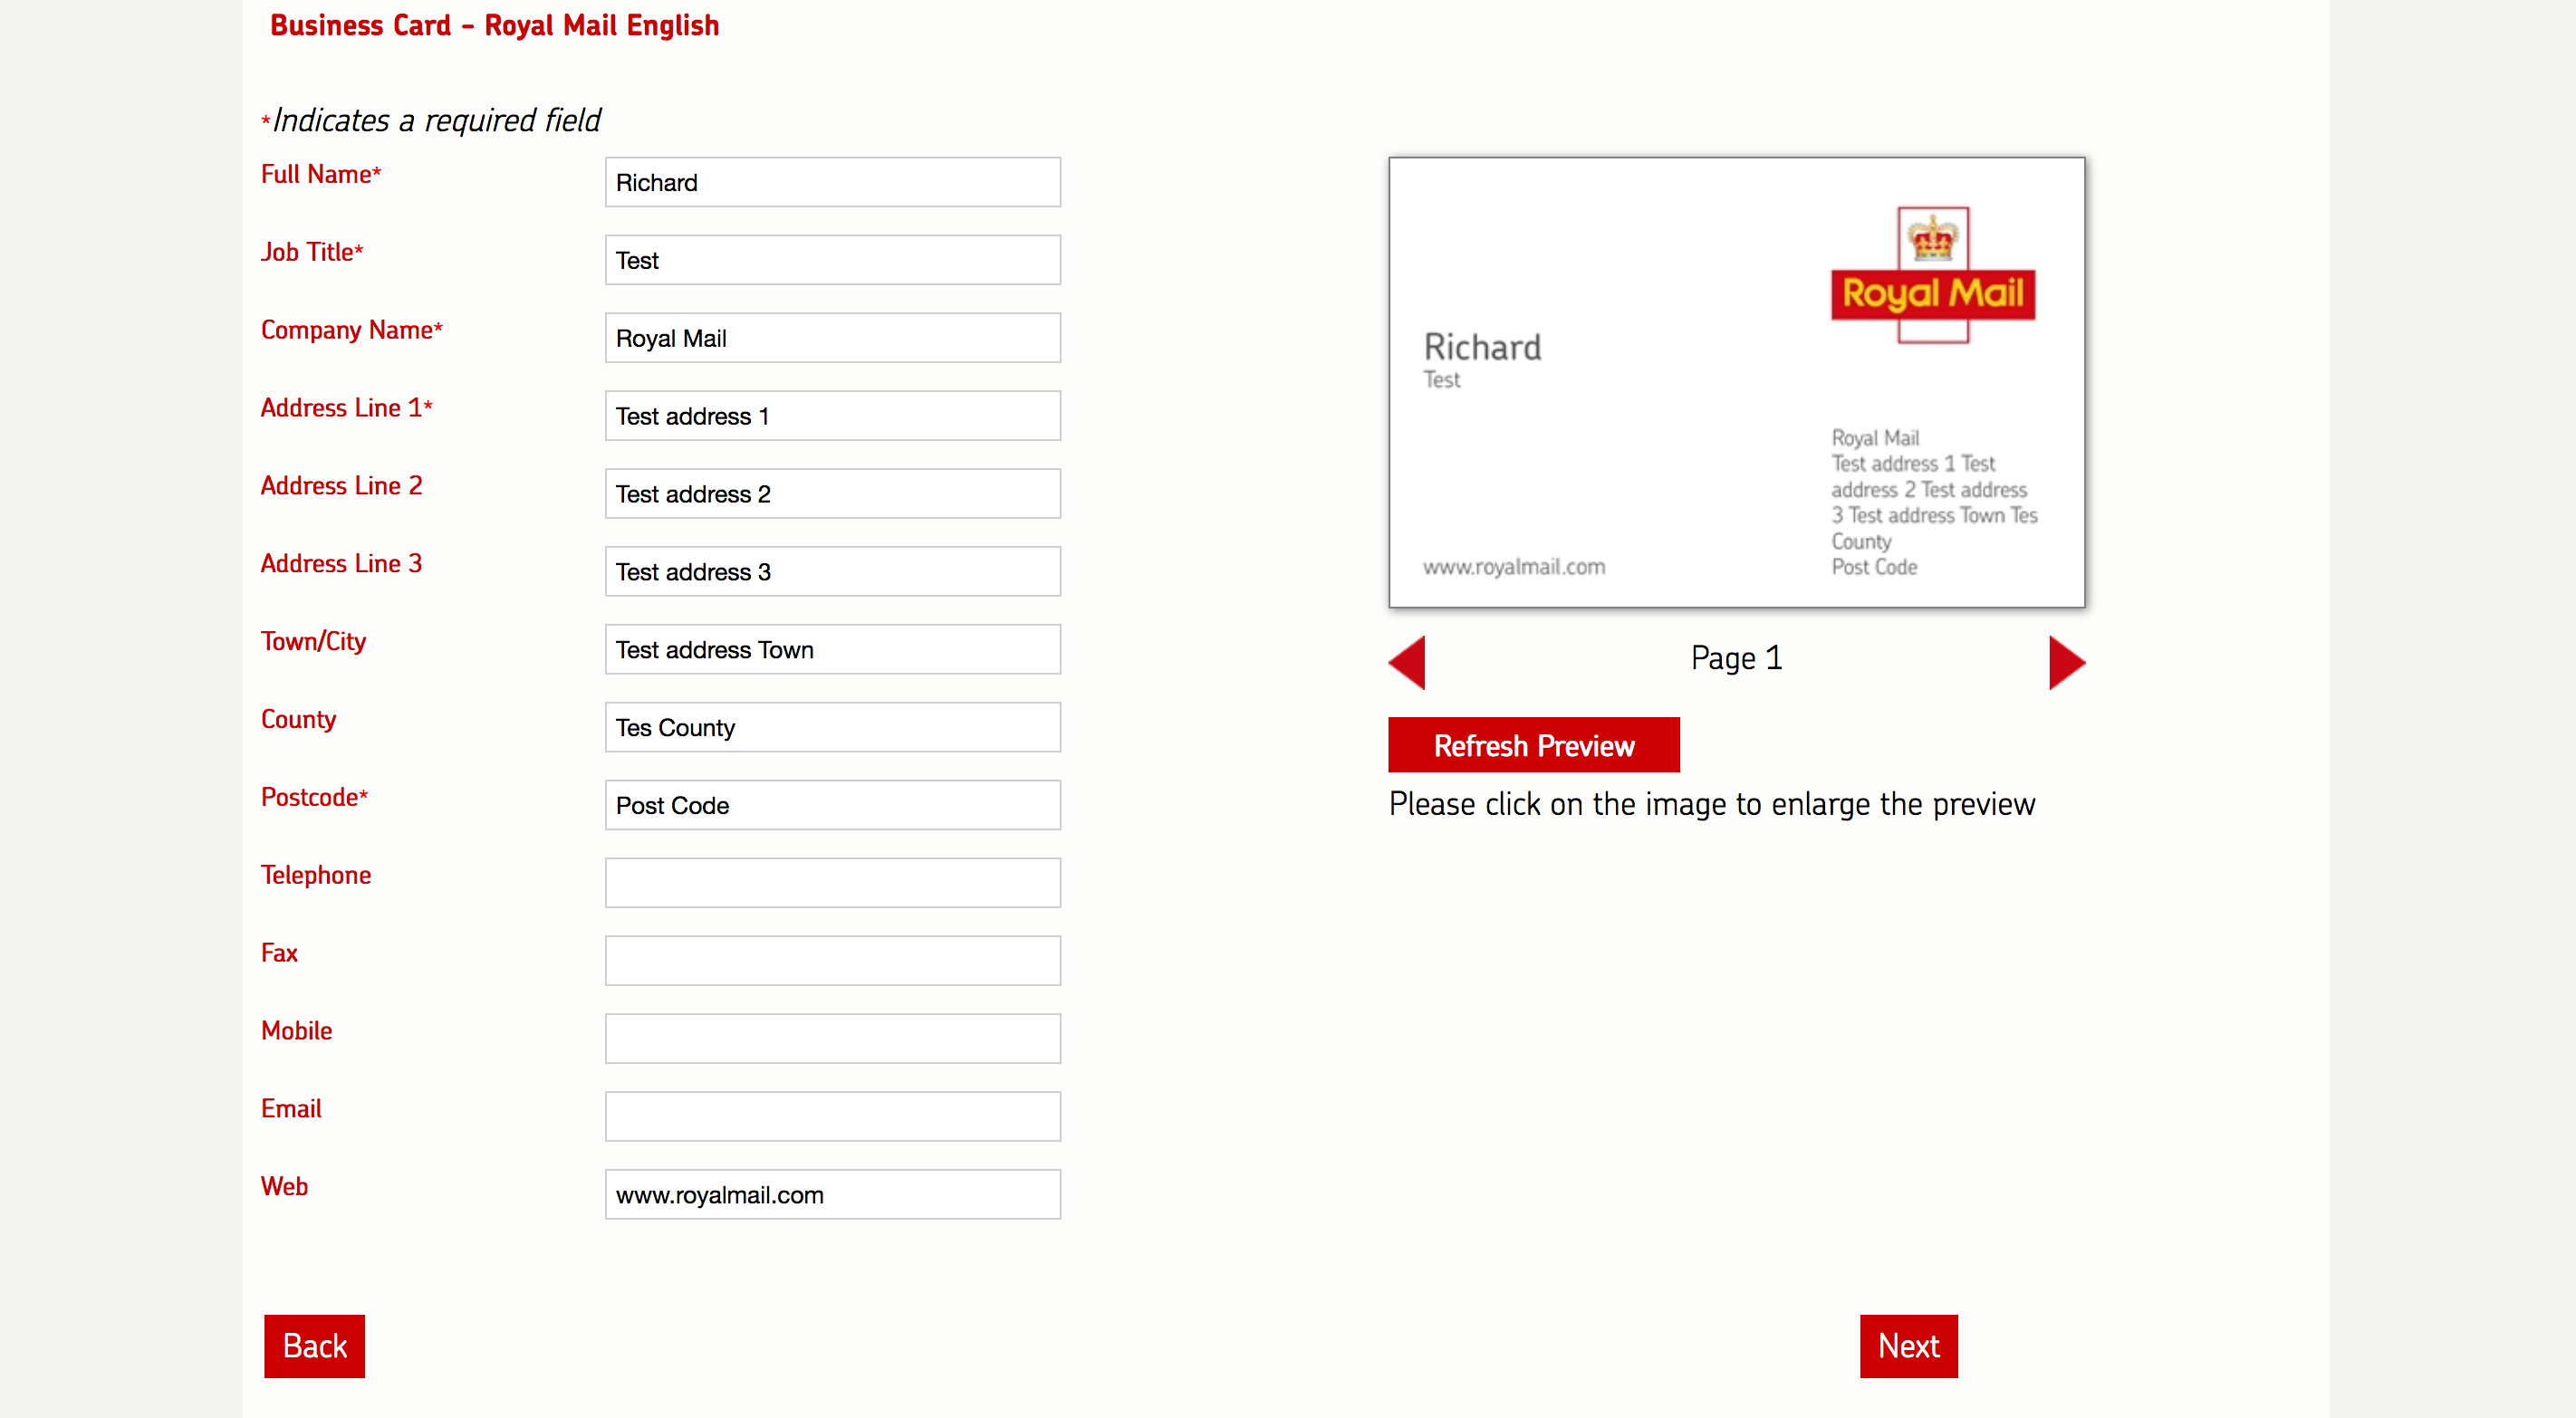
1. This confirms the stationary item you have selected.
2. Fill in the details for the fields on the left of the screen
3. Click on the refresh button to update the details
4. Please click on the image to view a larger image of your details
5. Once you are happy click ‘Continue’
Proofing and ordering your Product
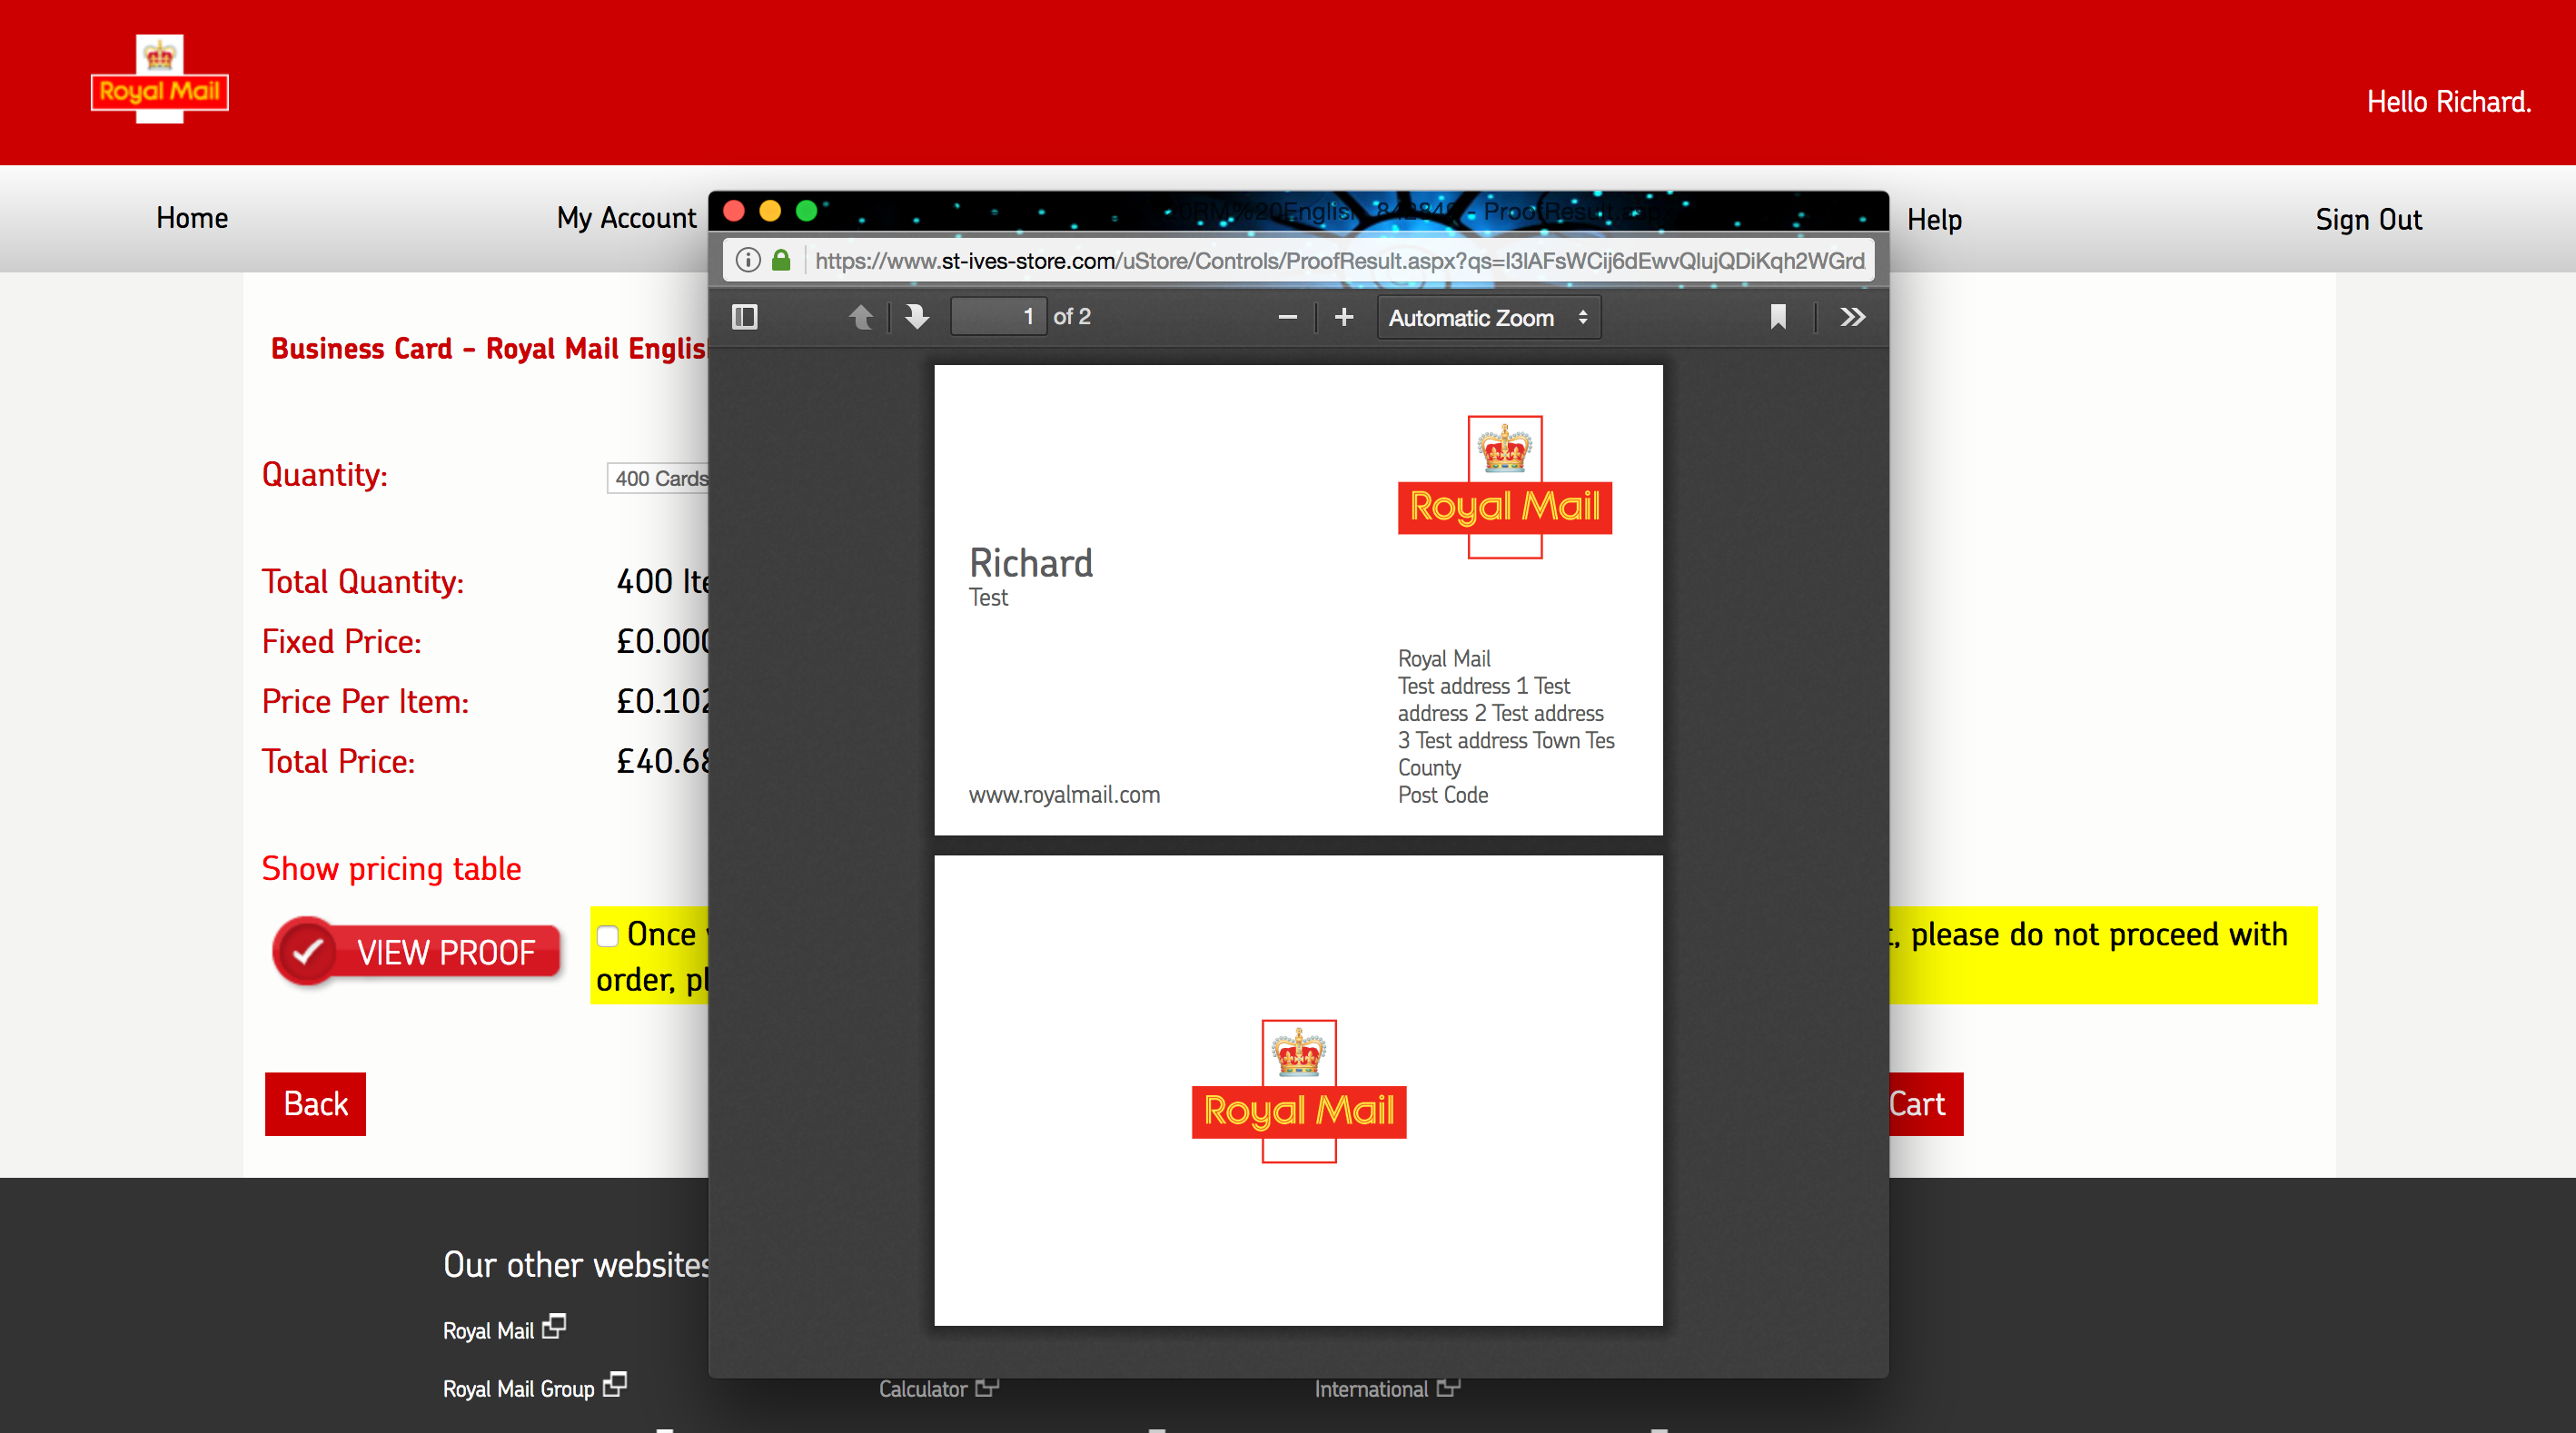
1. This is where you check/proof your stationary product. It allows you to check you are happy with the personalisation which is brought through onto the stationary item. By clicking on the ‘View proof’ button a PDF opens, showing the personalisation on the mailing piece.
2. If for any reason you amend anything e.g. amend an address line, click ‘Back’ which will take you back to the previous page.
3. Once you are happy with the proofs, you must to tick the ‘Proof is approved’ box highlighted in yellow otherwise the software will prompt you to do so, prior to moving to the next stage.
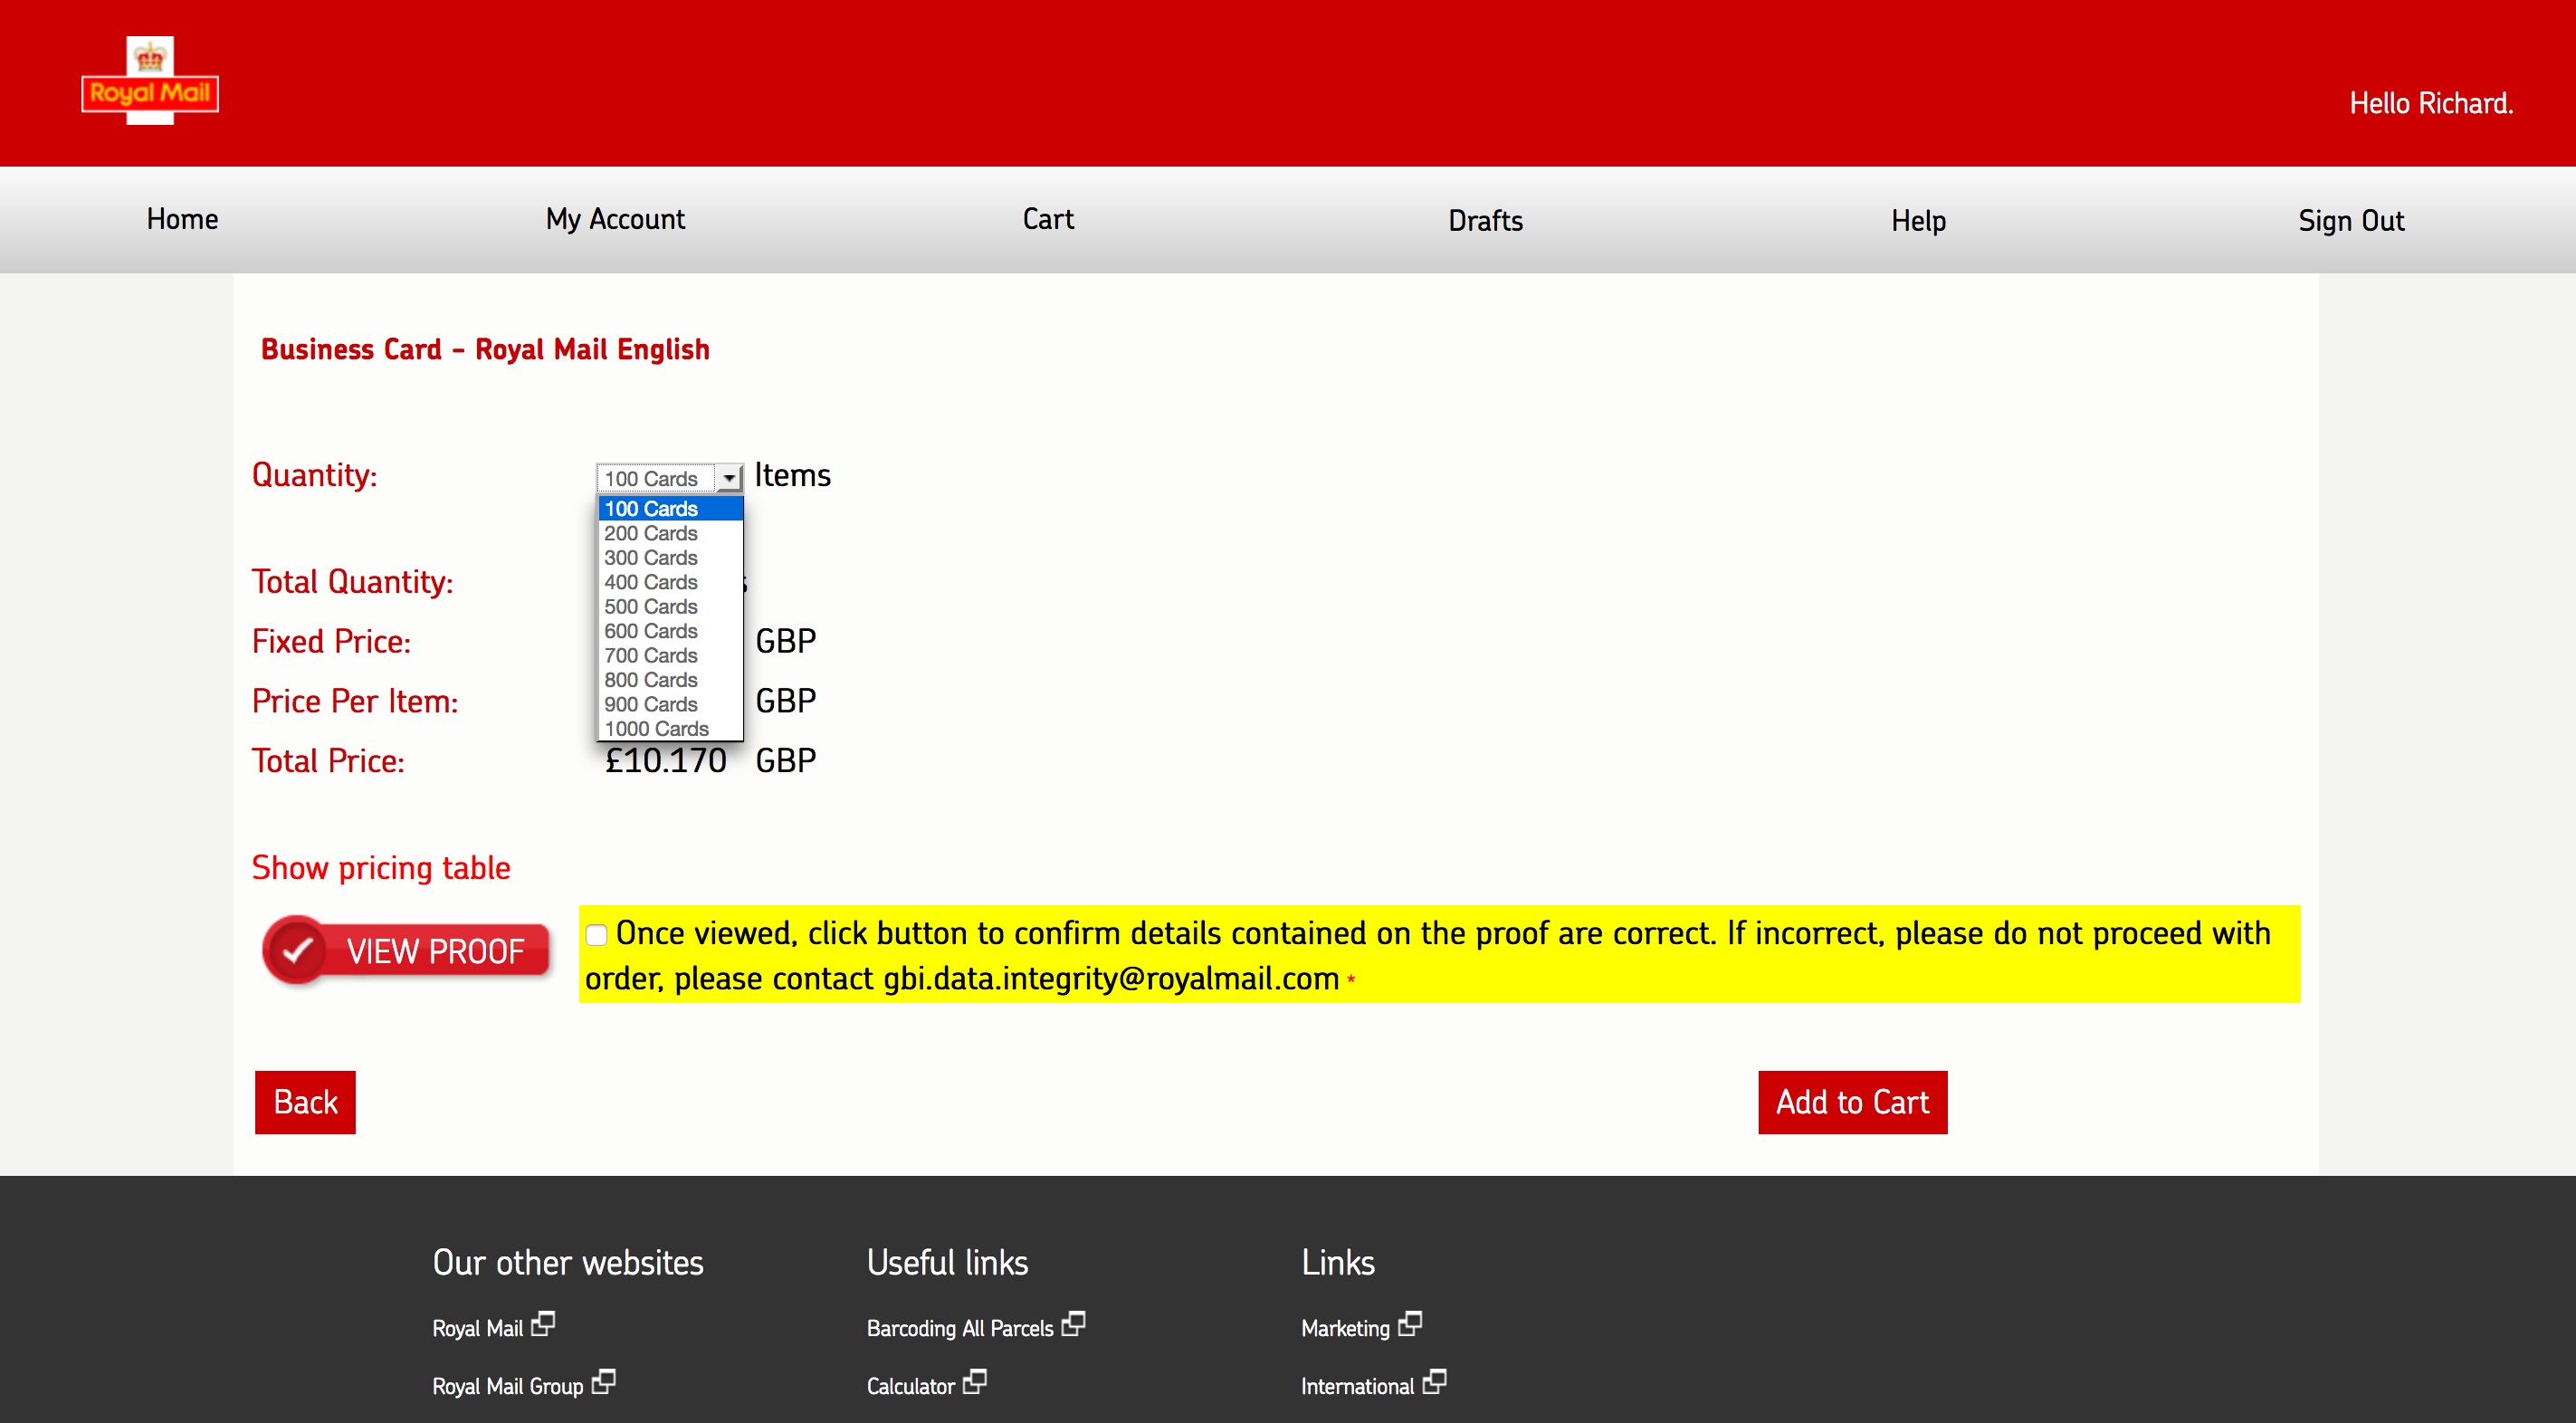
4. Select the quantity you would like to order from the drop down box. please note the price will alter to indicate the increase in cost.
5. Click on ‘Add to Cart’ to move onto the next stage.
IMPORTANT TO NOTE
The software allows you to start creating an order and you can stop that process at any point and come back to it. If this does happen, this is where you will find your work.
Drafts – This is where you will find your personalised piece if you got up to any stage prior to Approving Proofs. Please not the system automatically saves up to three of the latest drafts. You need to maintain this folder, and save your automatically saved drafts into the save box or you will loose any historical drafts when you exceed the three draft limit. Full instruction in the ‘Draft’ section of this document further down.
Cart
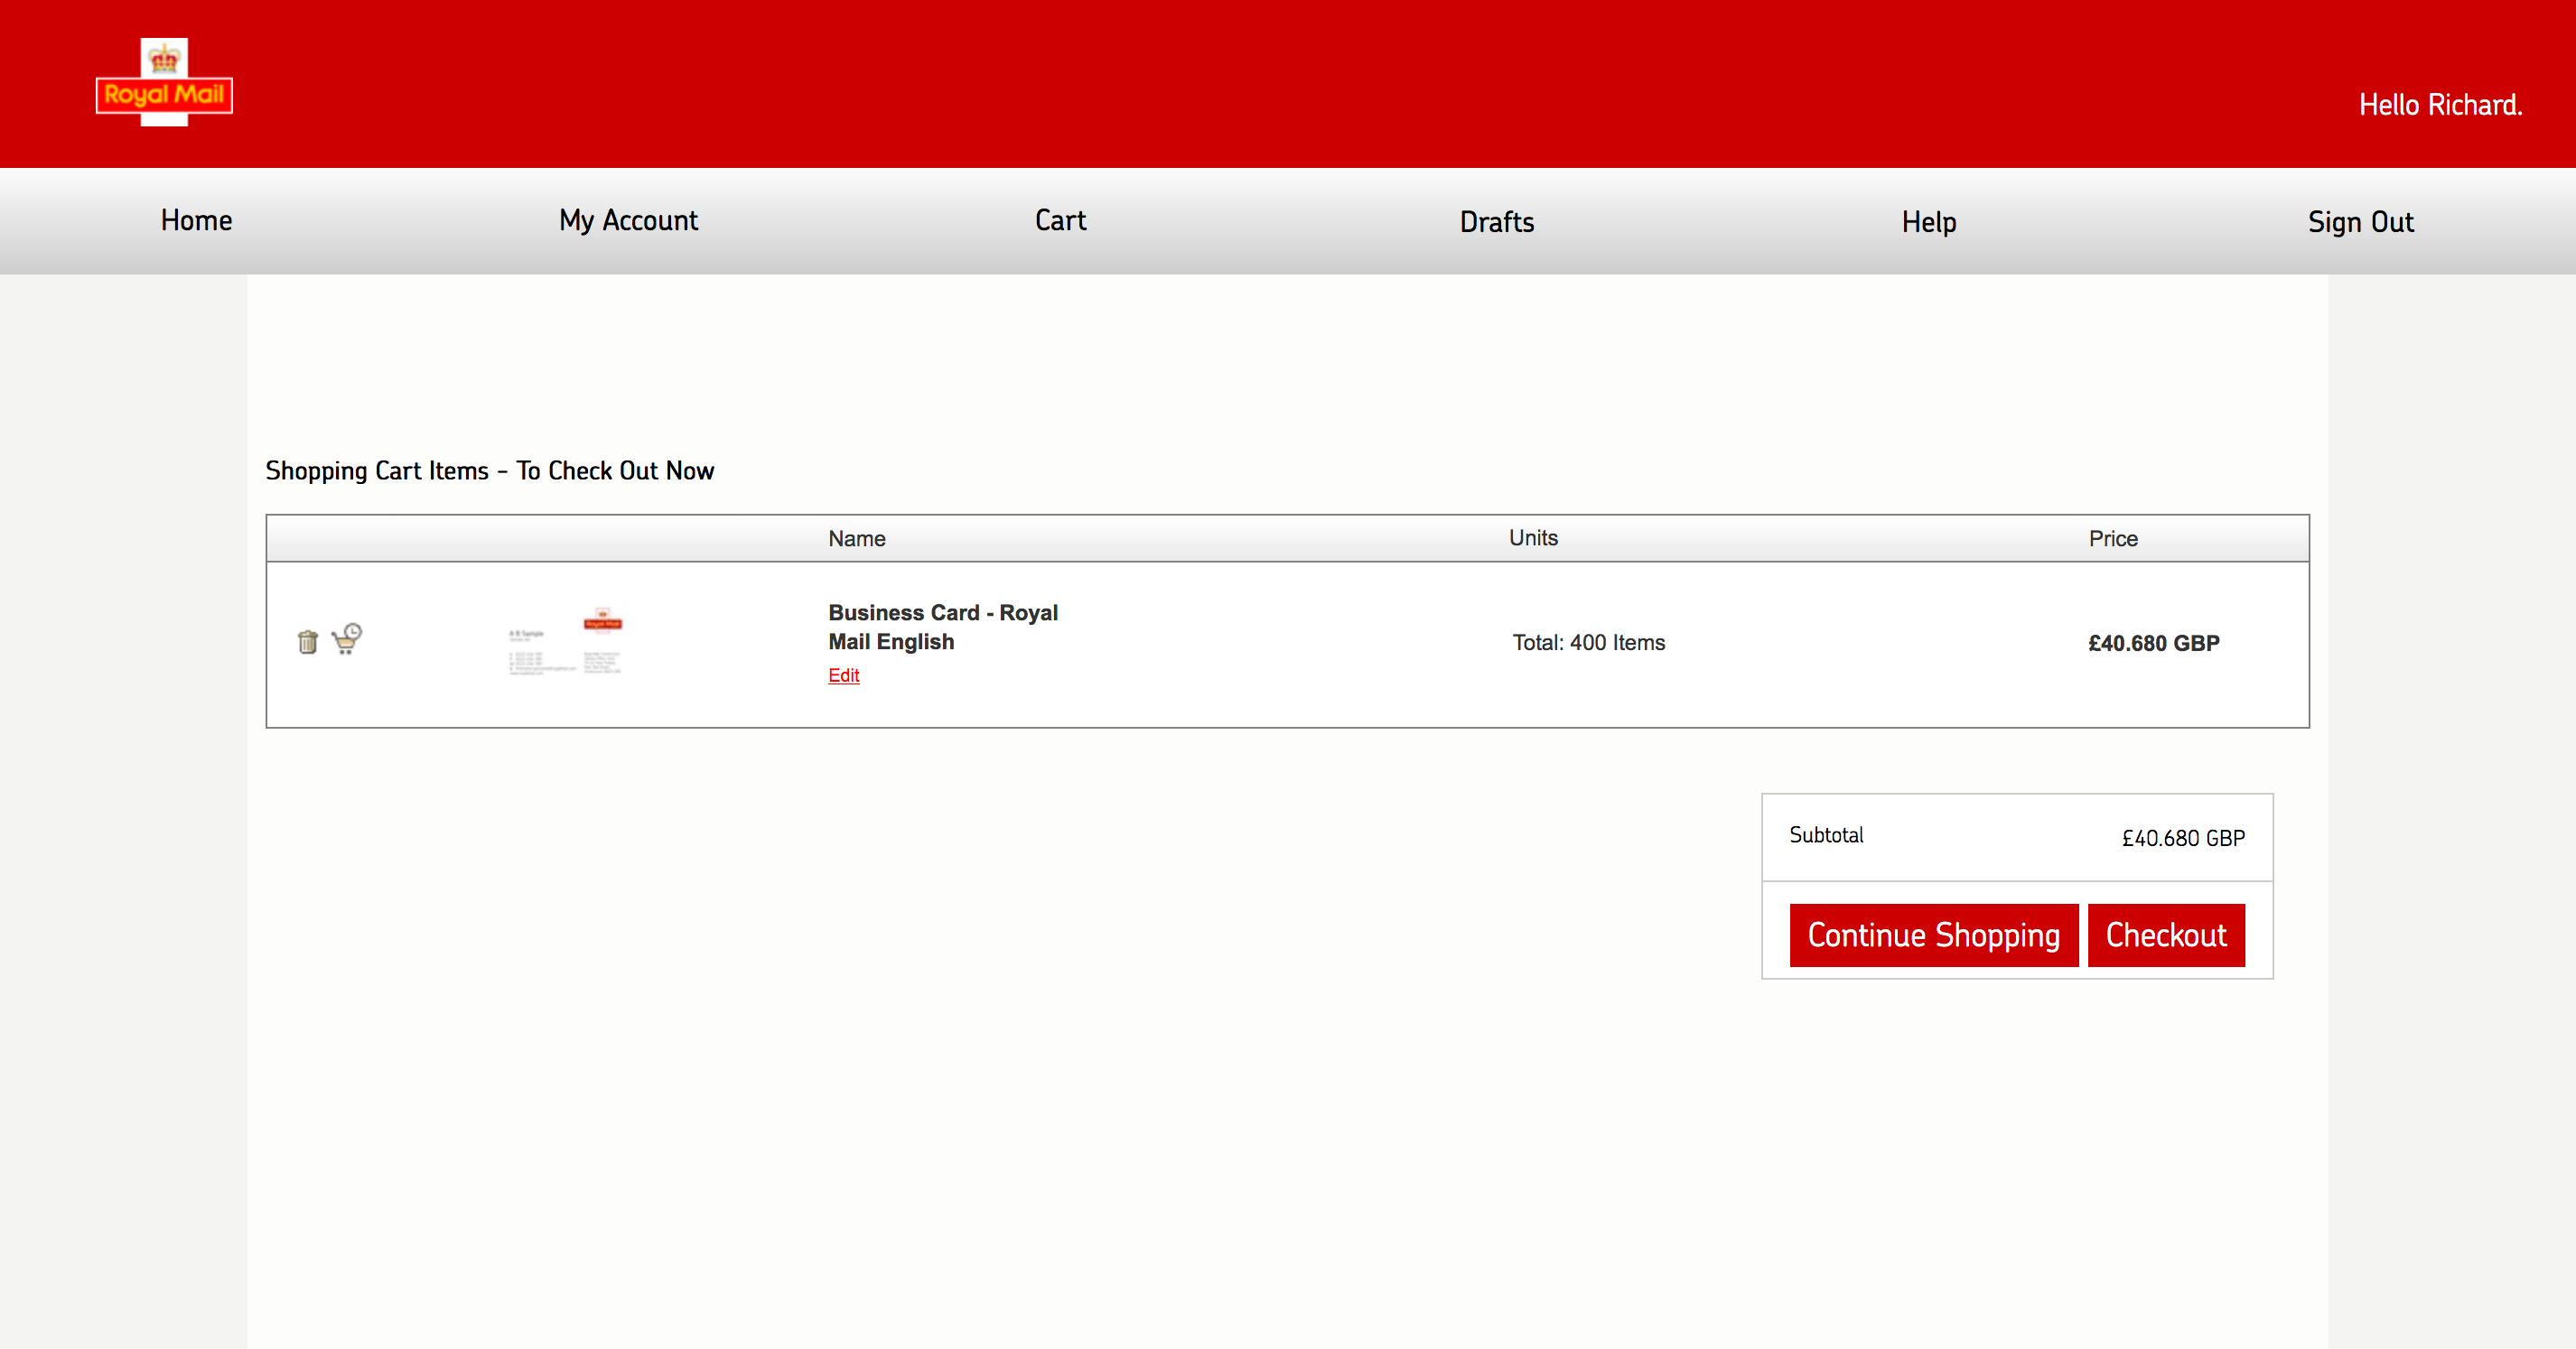
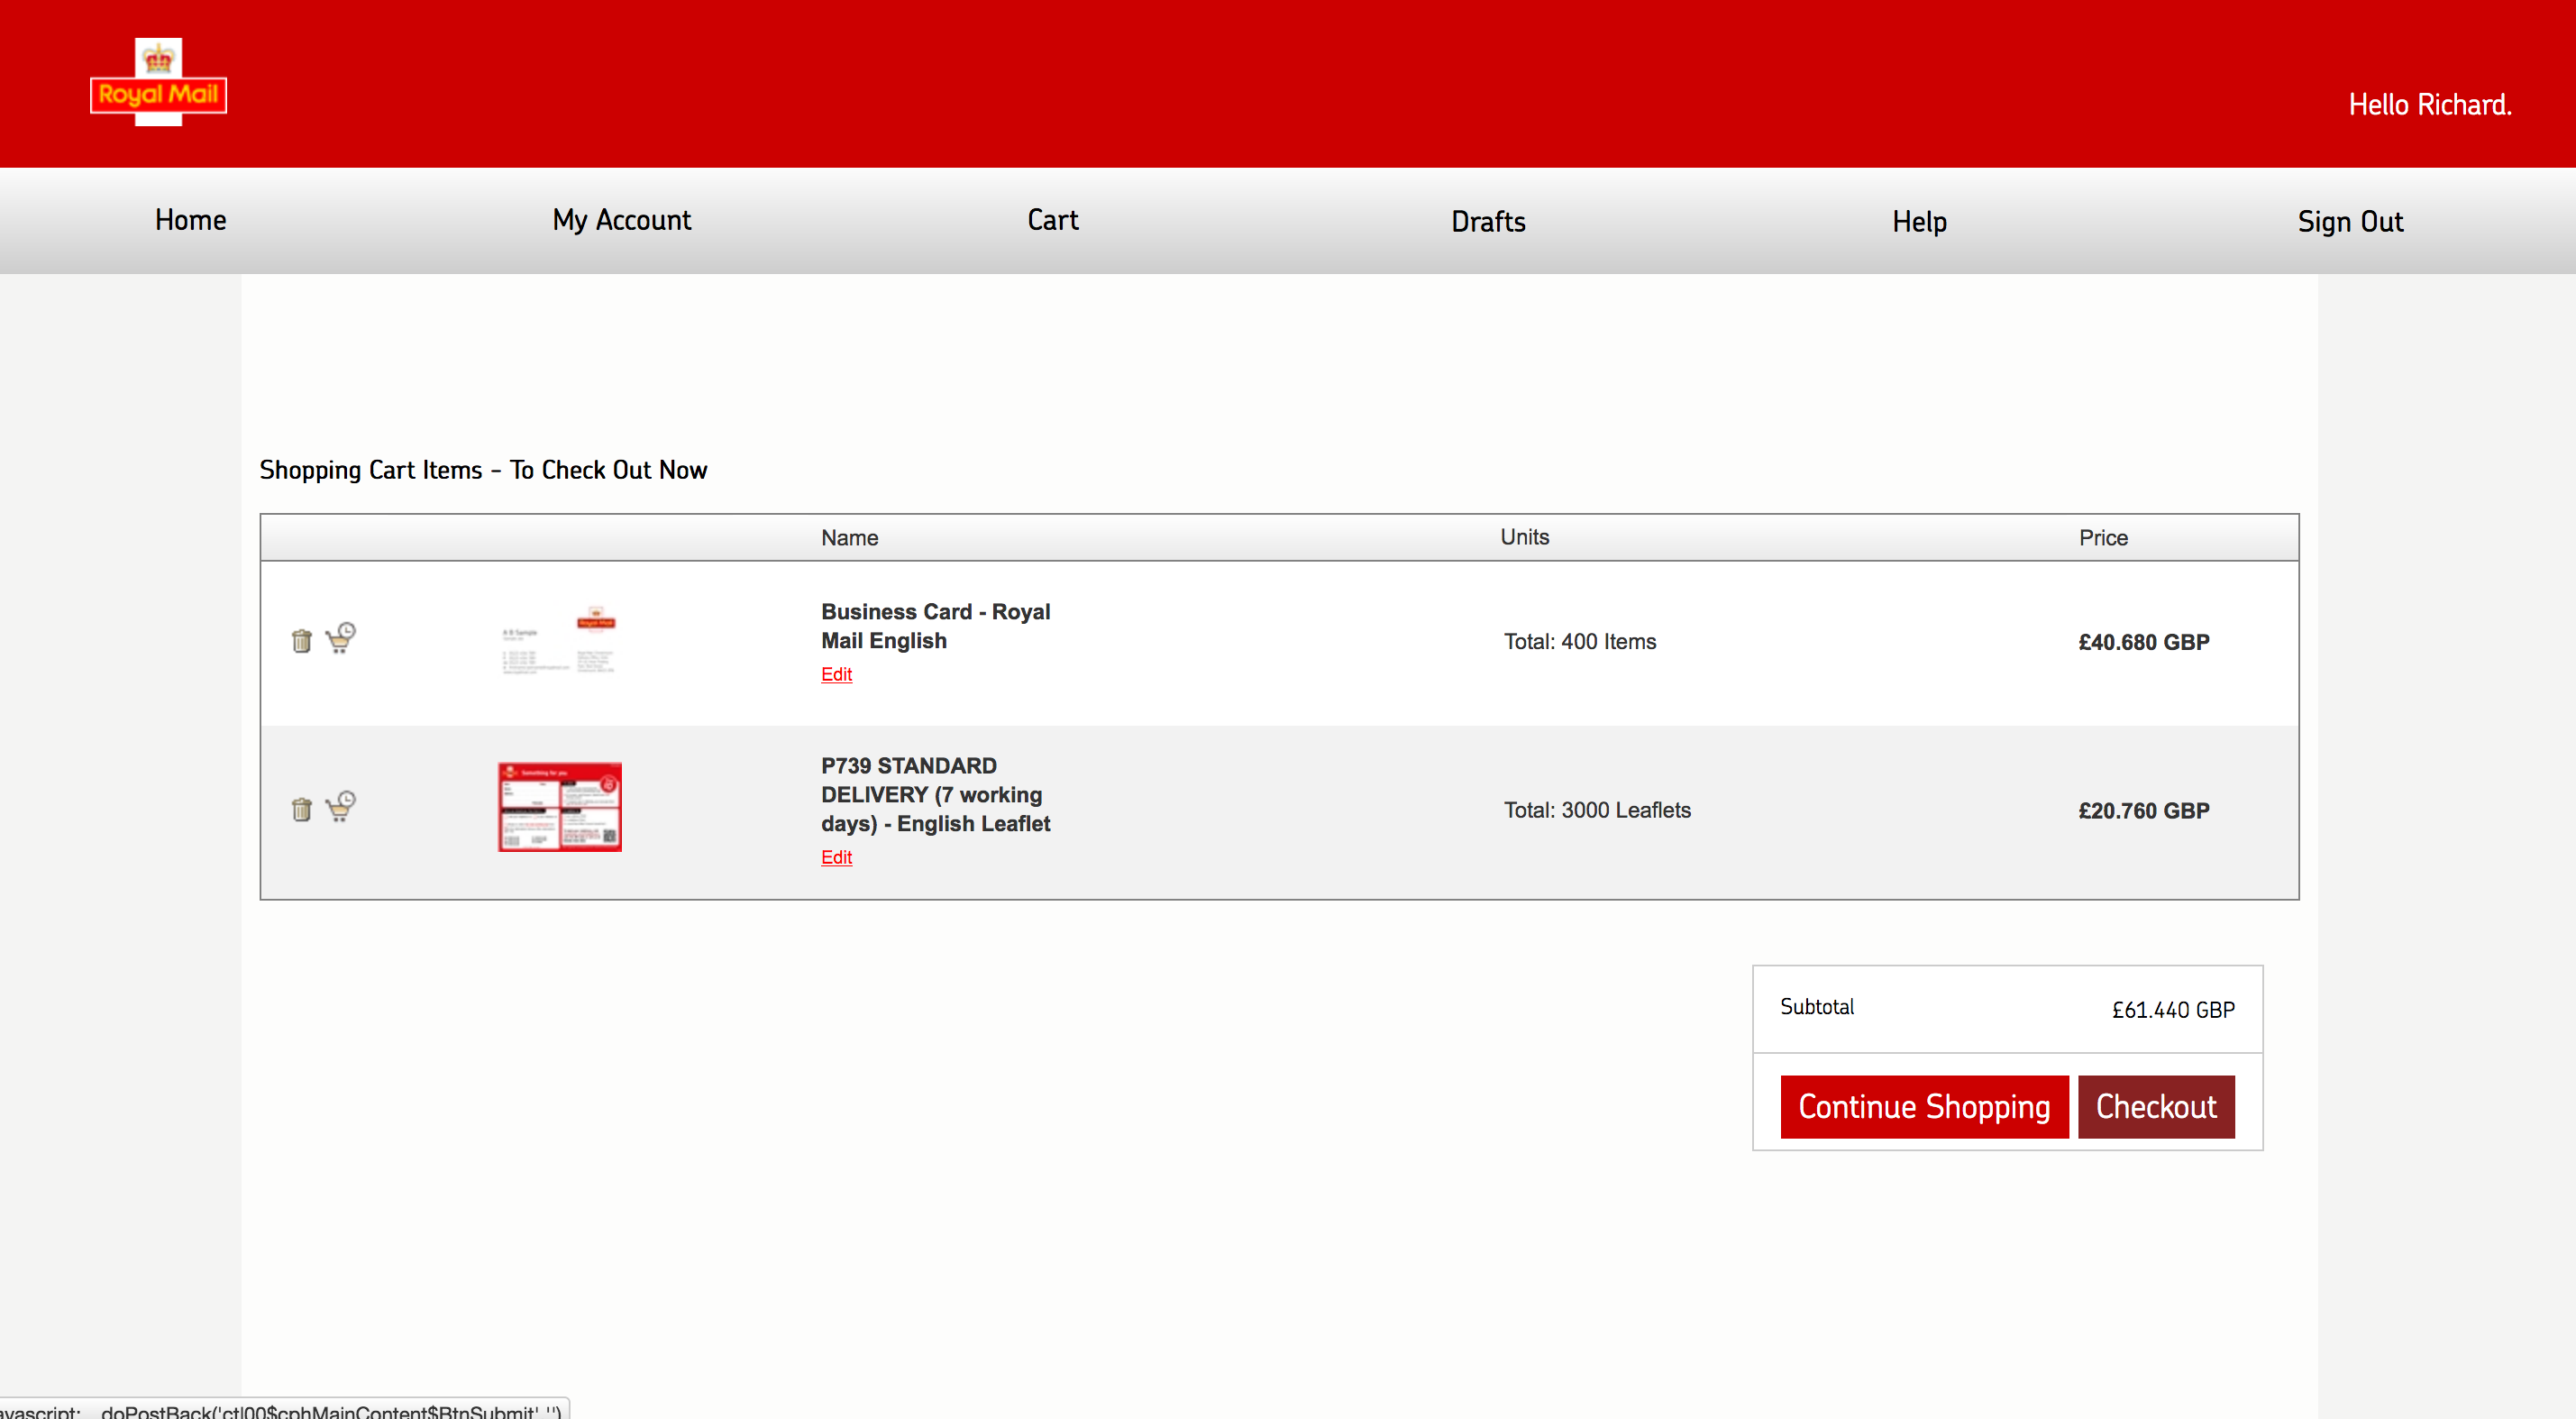
1. ‘Cart’ displays all orders waiting your final approval including the product name and quantity. If you are happy to proceed to check out with ‘All’ of your orders click the ‘Check out’ button. However:
• If you wish to delete any of your orders you can do so by clicking on the ‘Dustbin’.
• If there are orders that you DO NOT wish to include as part of your existing orders, click on the ‘Trolley’ on the left of the order. This will remove the current item from your existing order, but keep it within the ‘Mailings Awaiting Approval’ part of the Toolkit to be referenced in the future.
• If you wish to continue to create another item, click on the ‘Continue Shopping’ to create it and it will be added to your order.
Ordering P739 and P4605
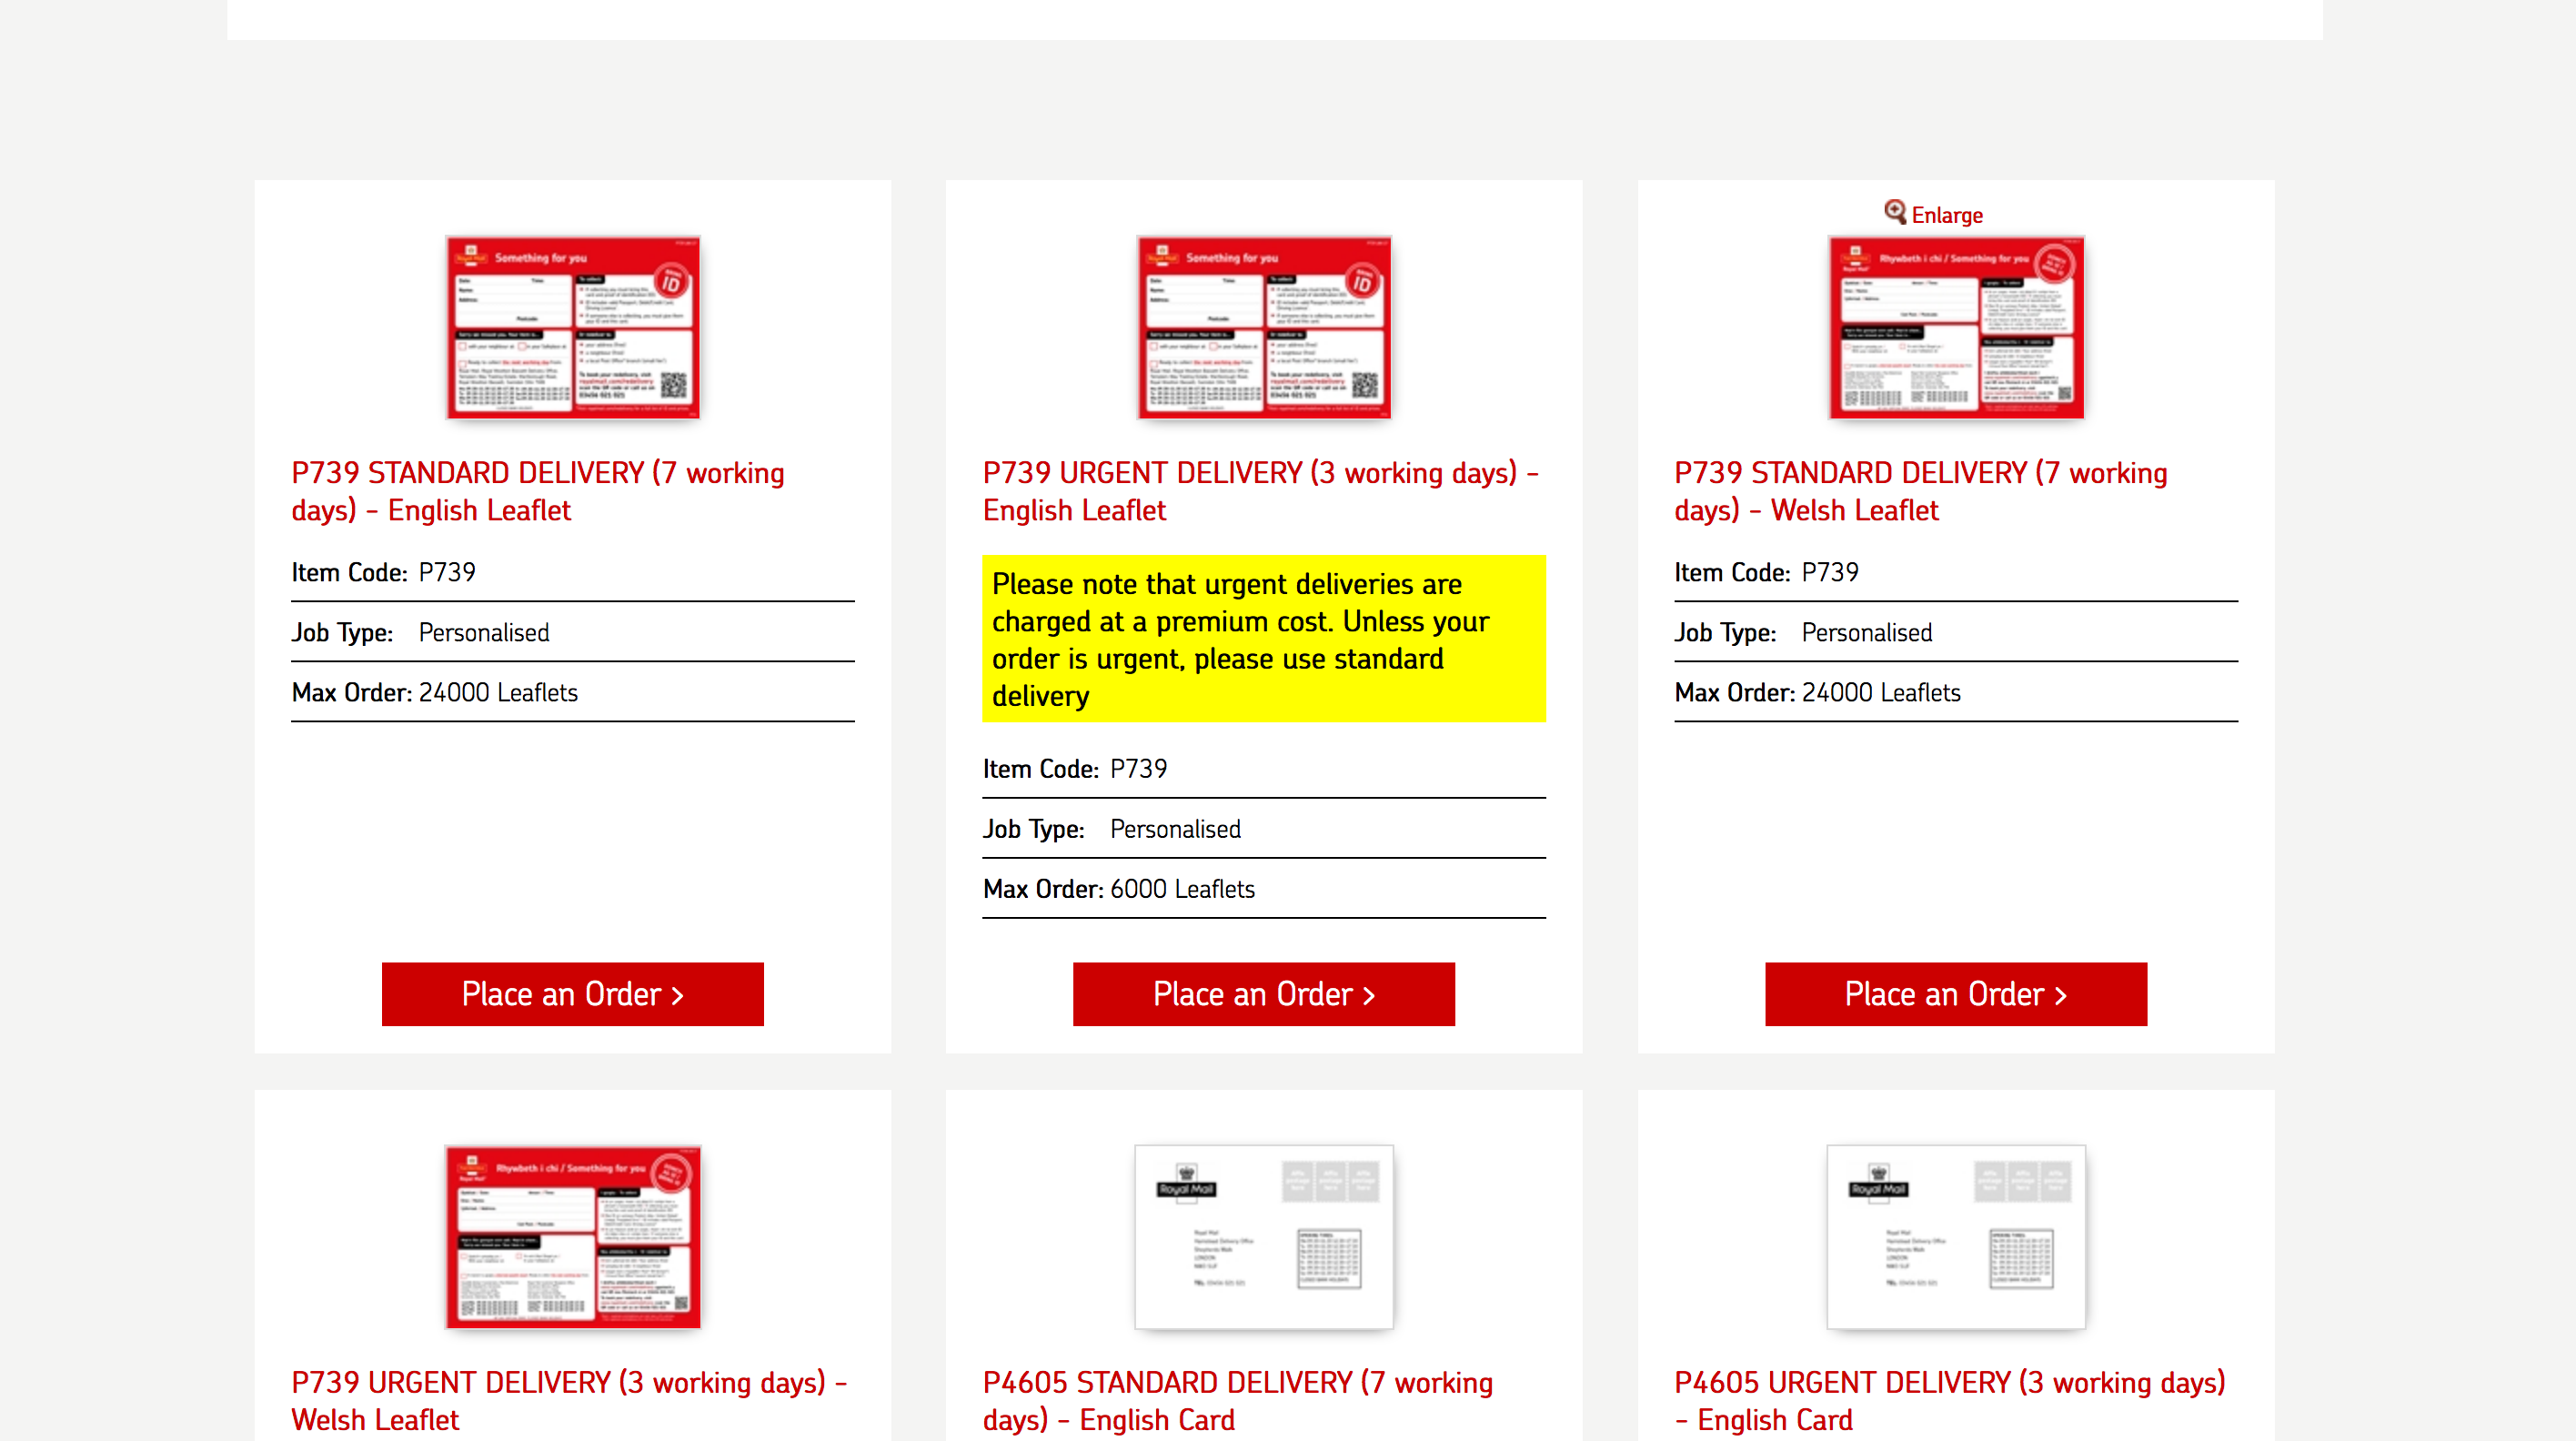
1. Select the P739 and P4605 link to be presented with a selection of products
2. Once you have identified the correct product required, click on ‘Place an Order’ to select the product you wish to use.
Product Detail
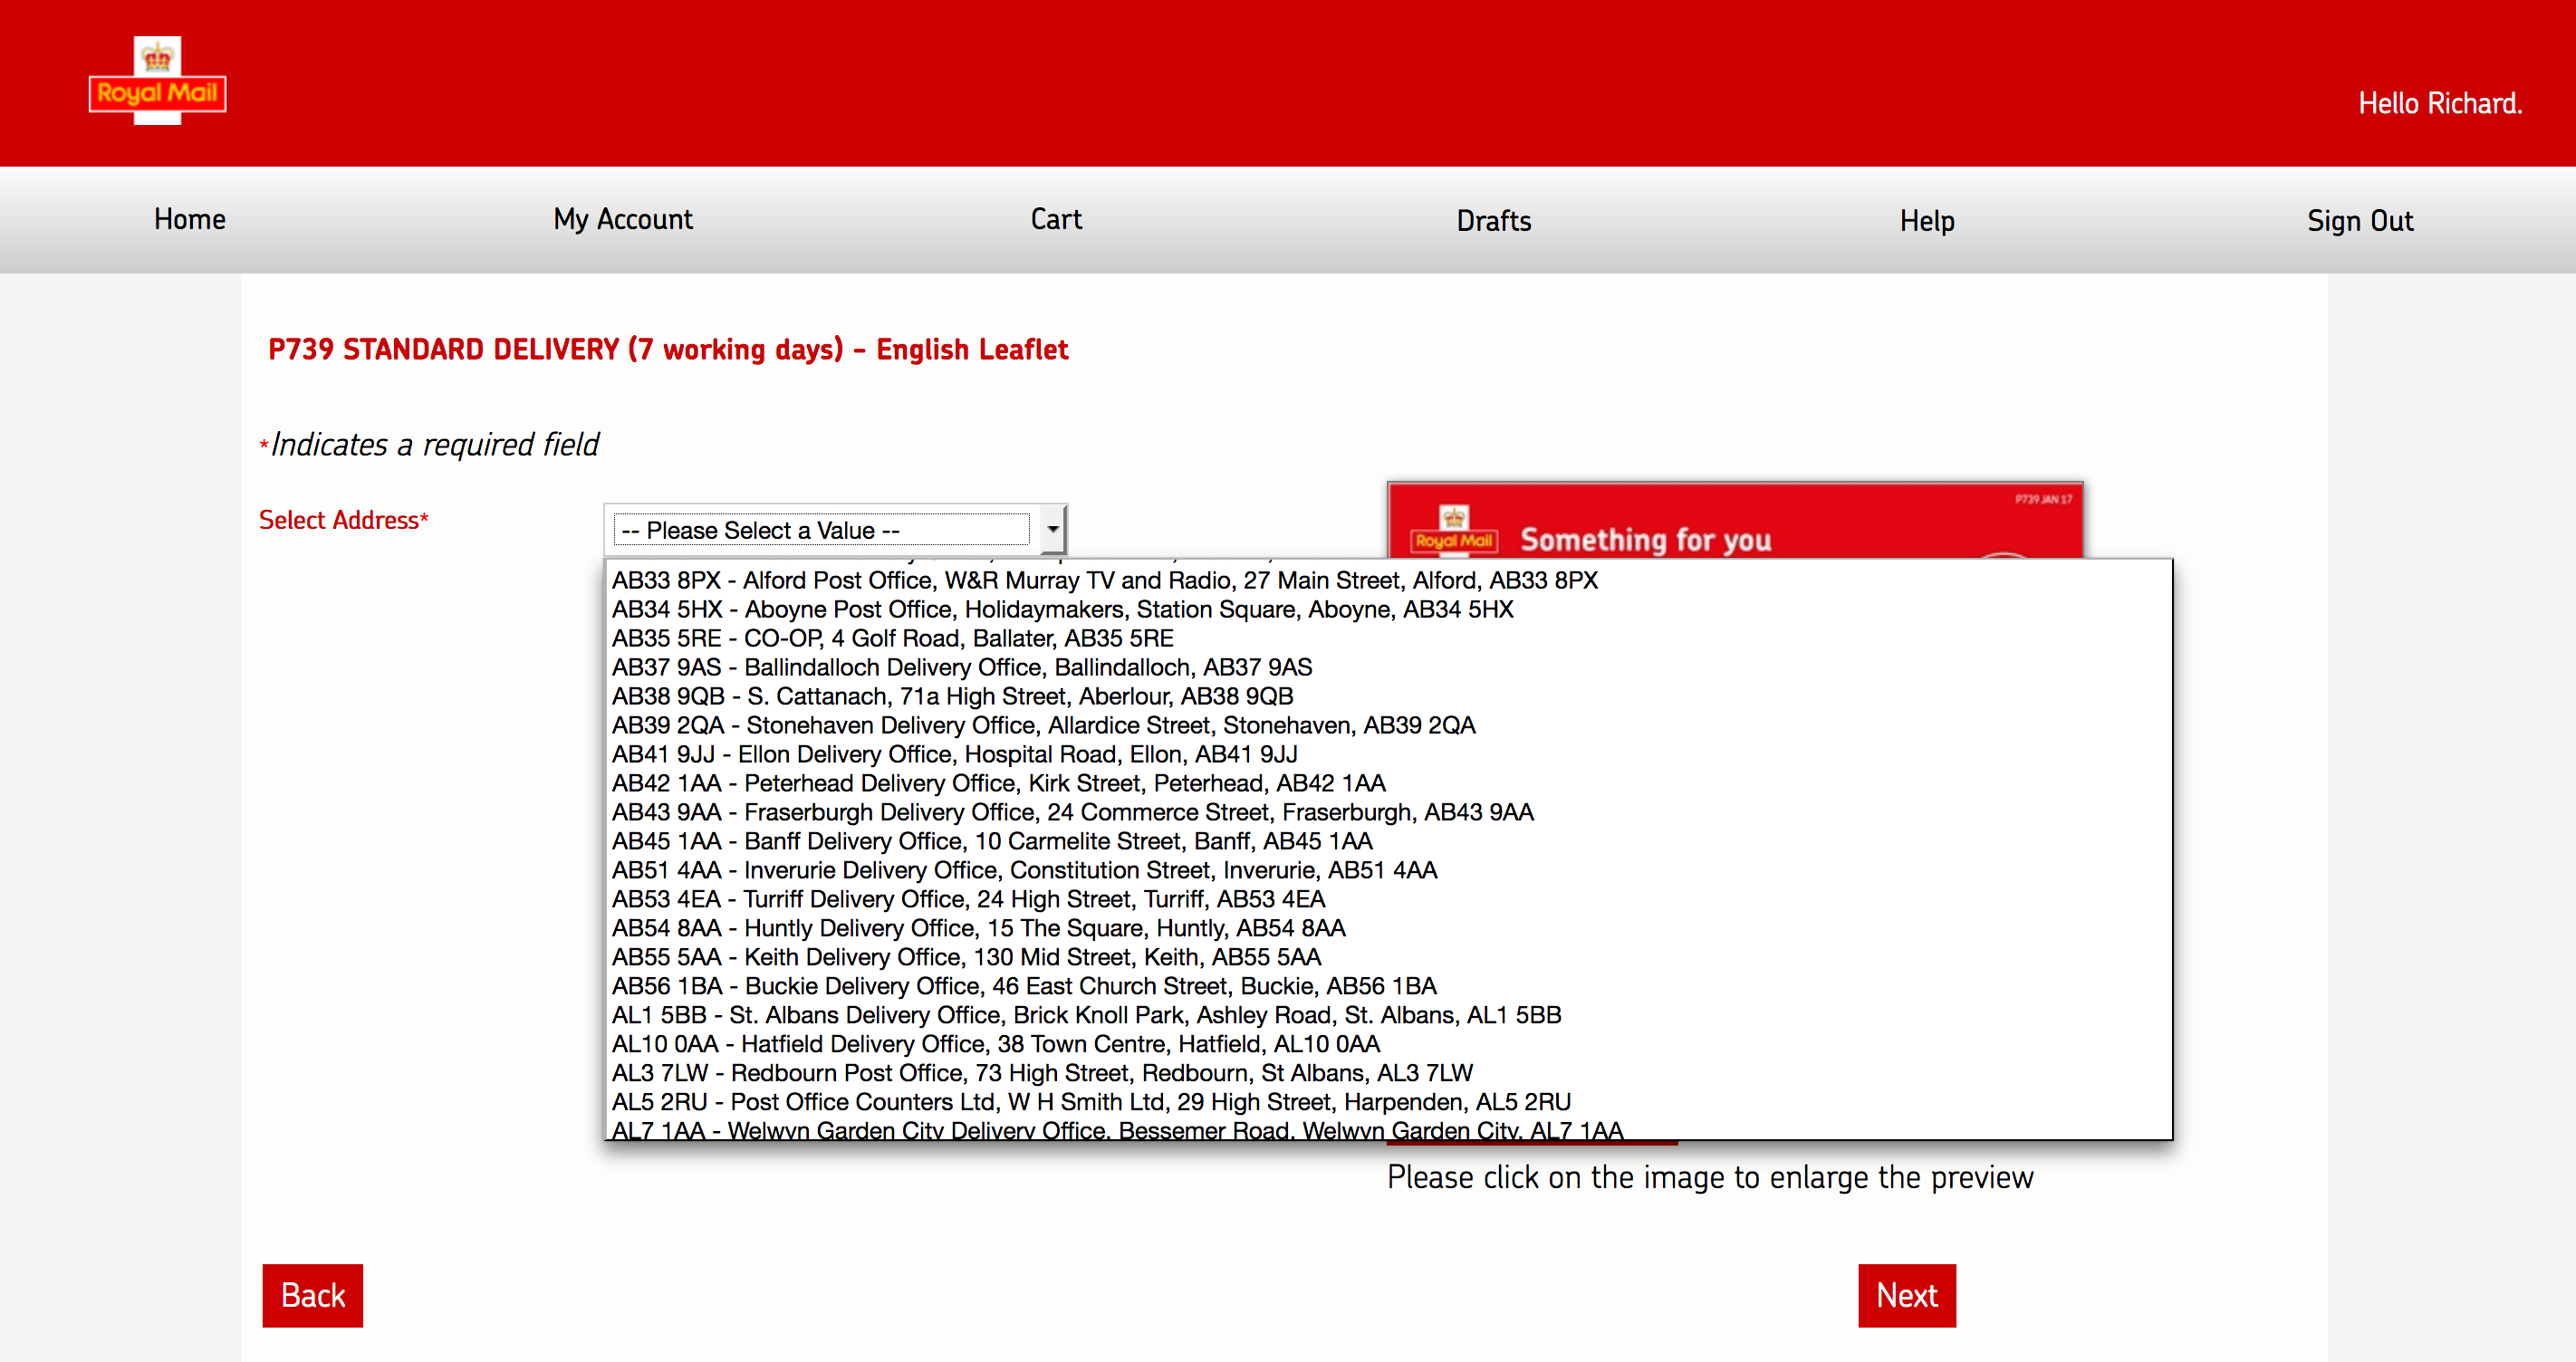
1. This confirms the P739 / P4605 item you have selected.
2. select the details for your address. Please note: If you start typing your Postcode, this will act as a shortcut to your address.
3. Click on the refresh button to update the details
4. Please click on the image to view a larger image of your details. If the details are incorrect, If incorrect, please do not proceed with order, please do not continue your order and contact gbi.data.integrity@royalmail.com
5. Once you are happy click ‘Continue’
Proofing and ordering your Product
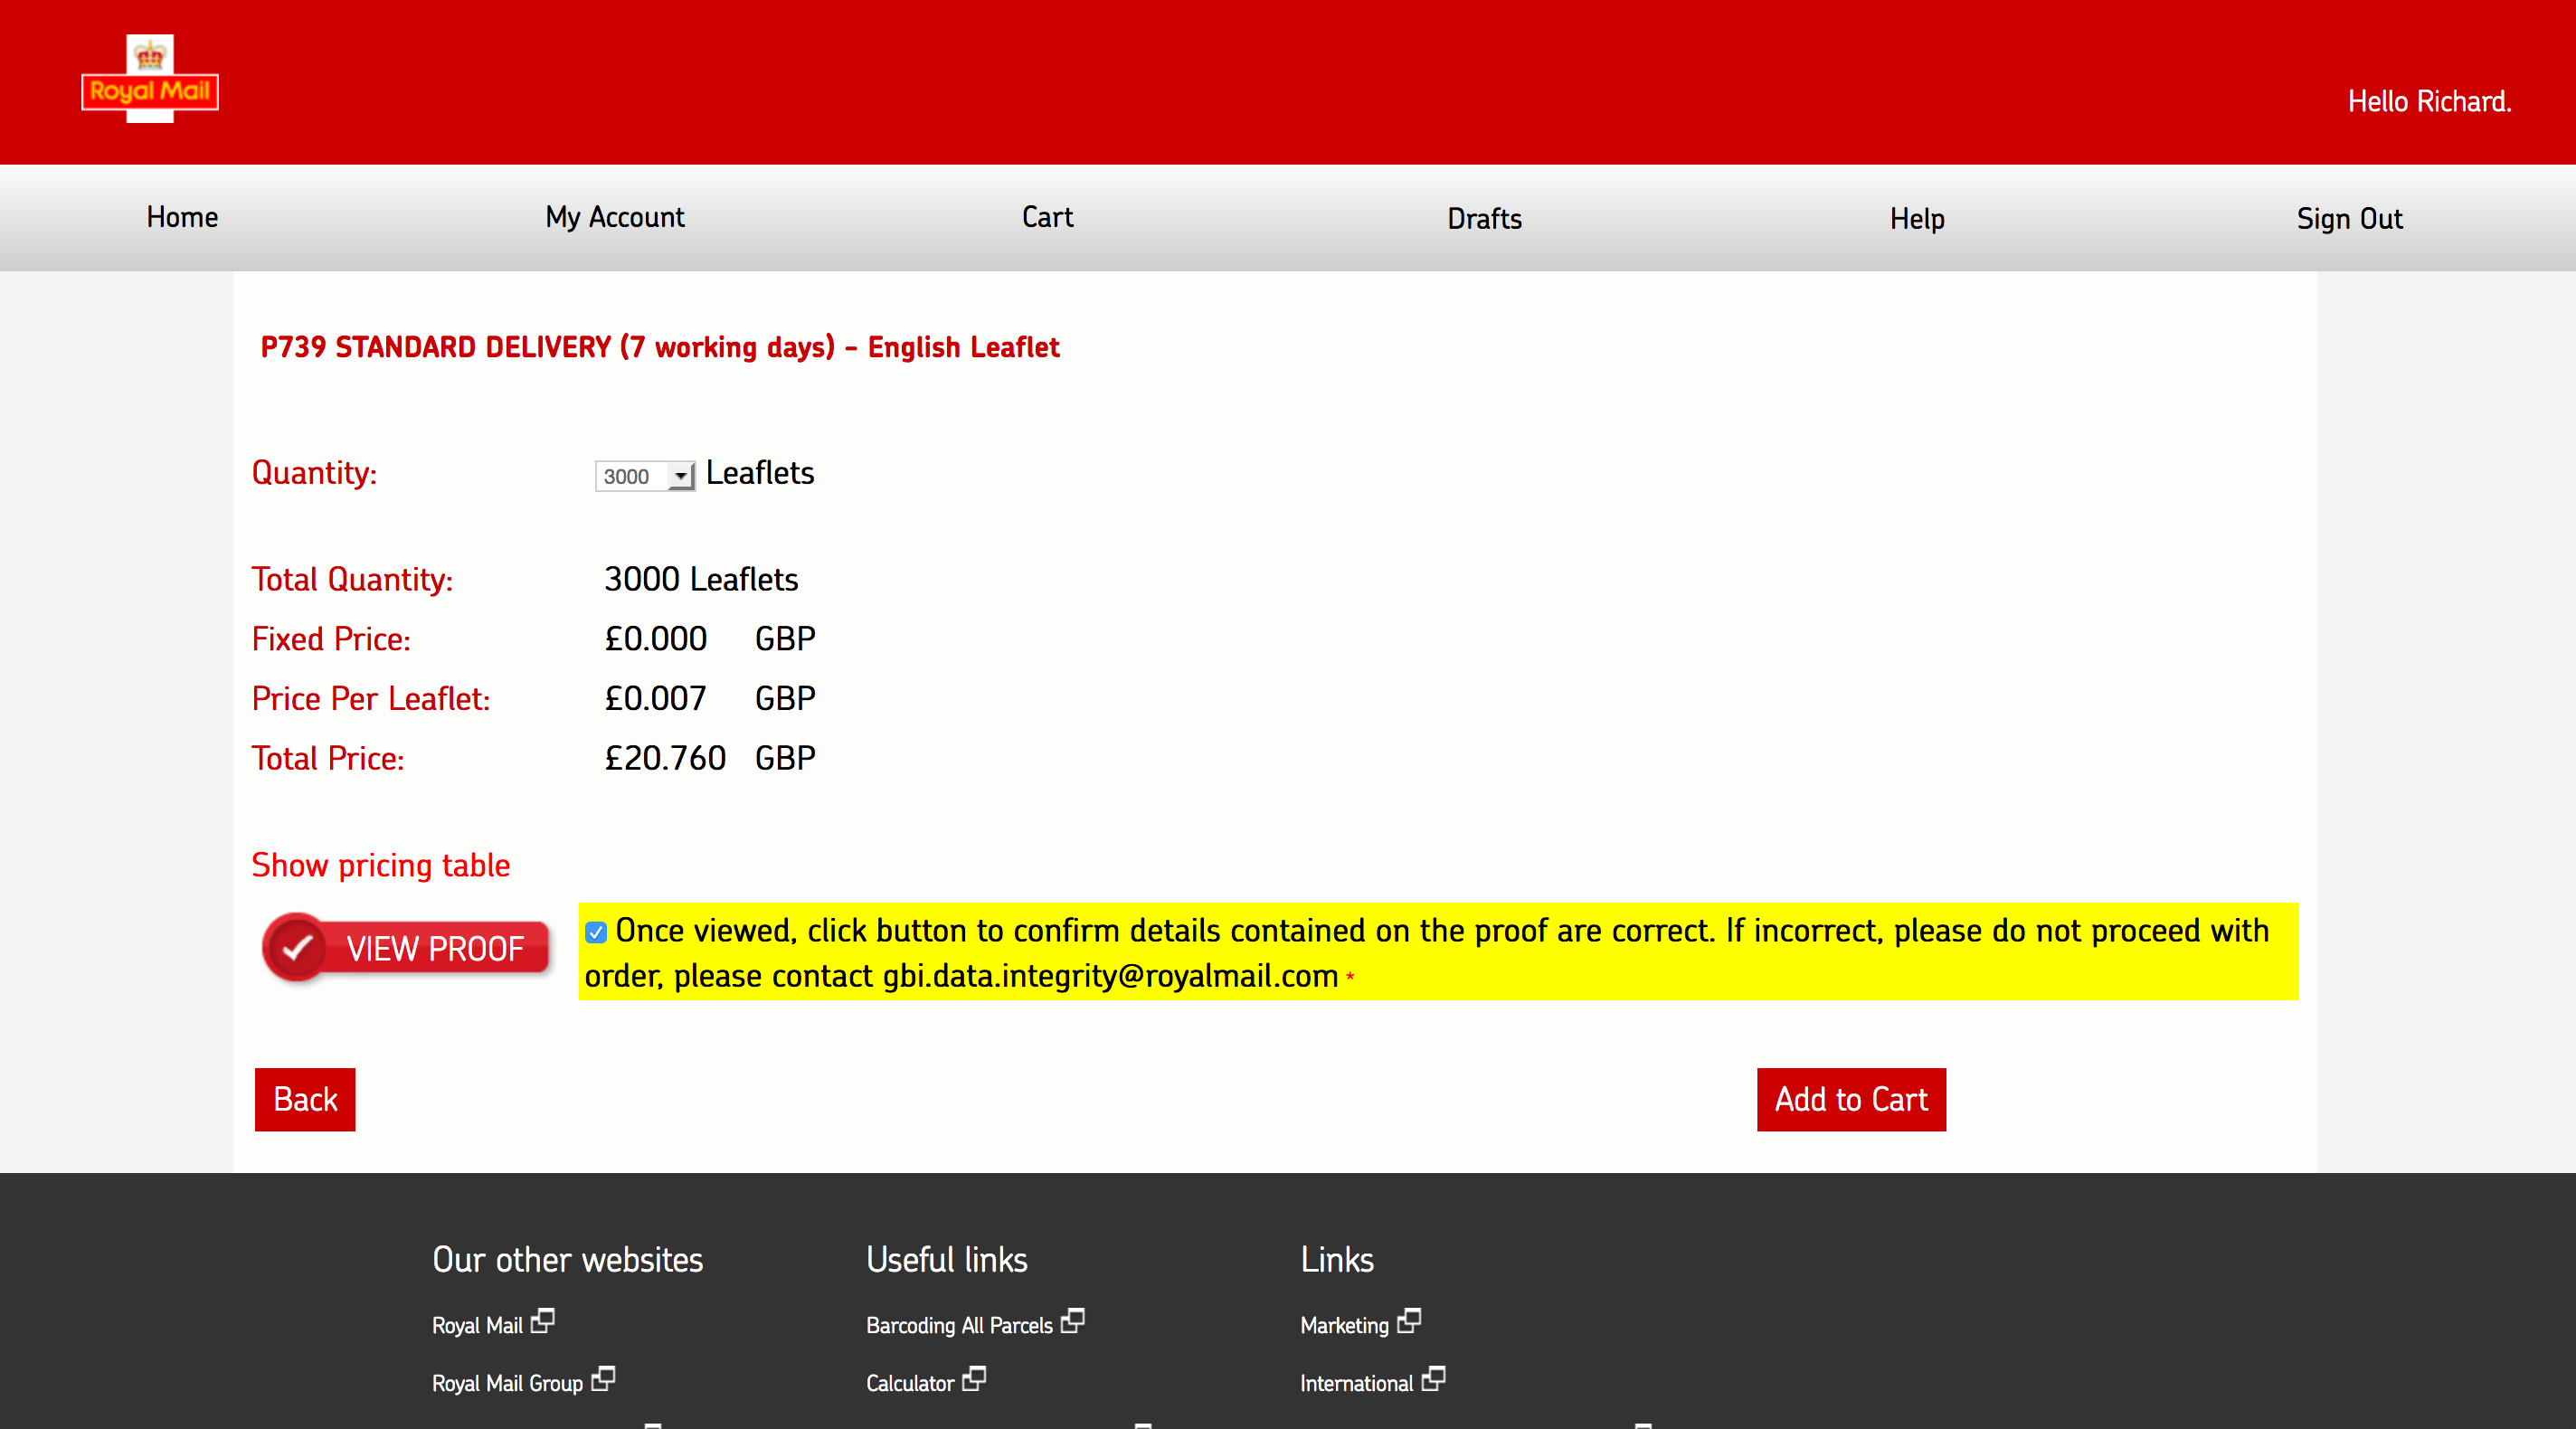
1. This is where you check/proof your product. It allows you to check you are happy with the personalisation which is brought through onto the stationary item. By clicking on the ‘View proof’ button a PDF opens, showing the personalisation on the P739/P4605 piece.
2. If for any reason you not happy with the product you are ordersing, please contact gbi.data.integrity@royalmail.com
3. Once you are happy with the proofs, you must to tick the ‘Proof is approved’ box highlighted in yellow otherwise the software will prompt you to do so, prior to moving to the next stage.
4. Select the quantity you would like to order from the drop down box. please note the price will alter to indicate the increase in cost.
5. Click on ‘Add to Cart’ to move onto the next stage.
Check Out – Content of the order
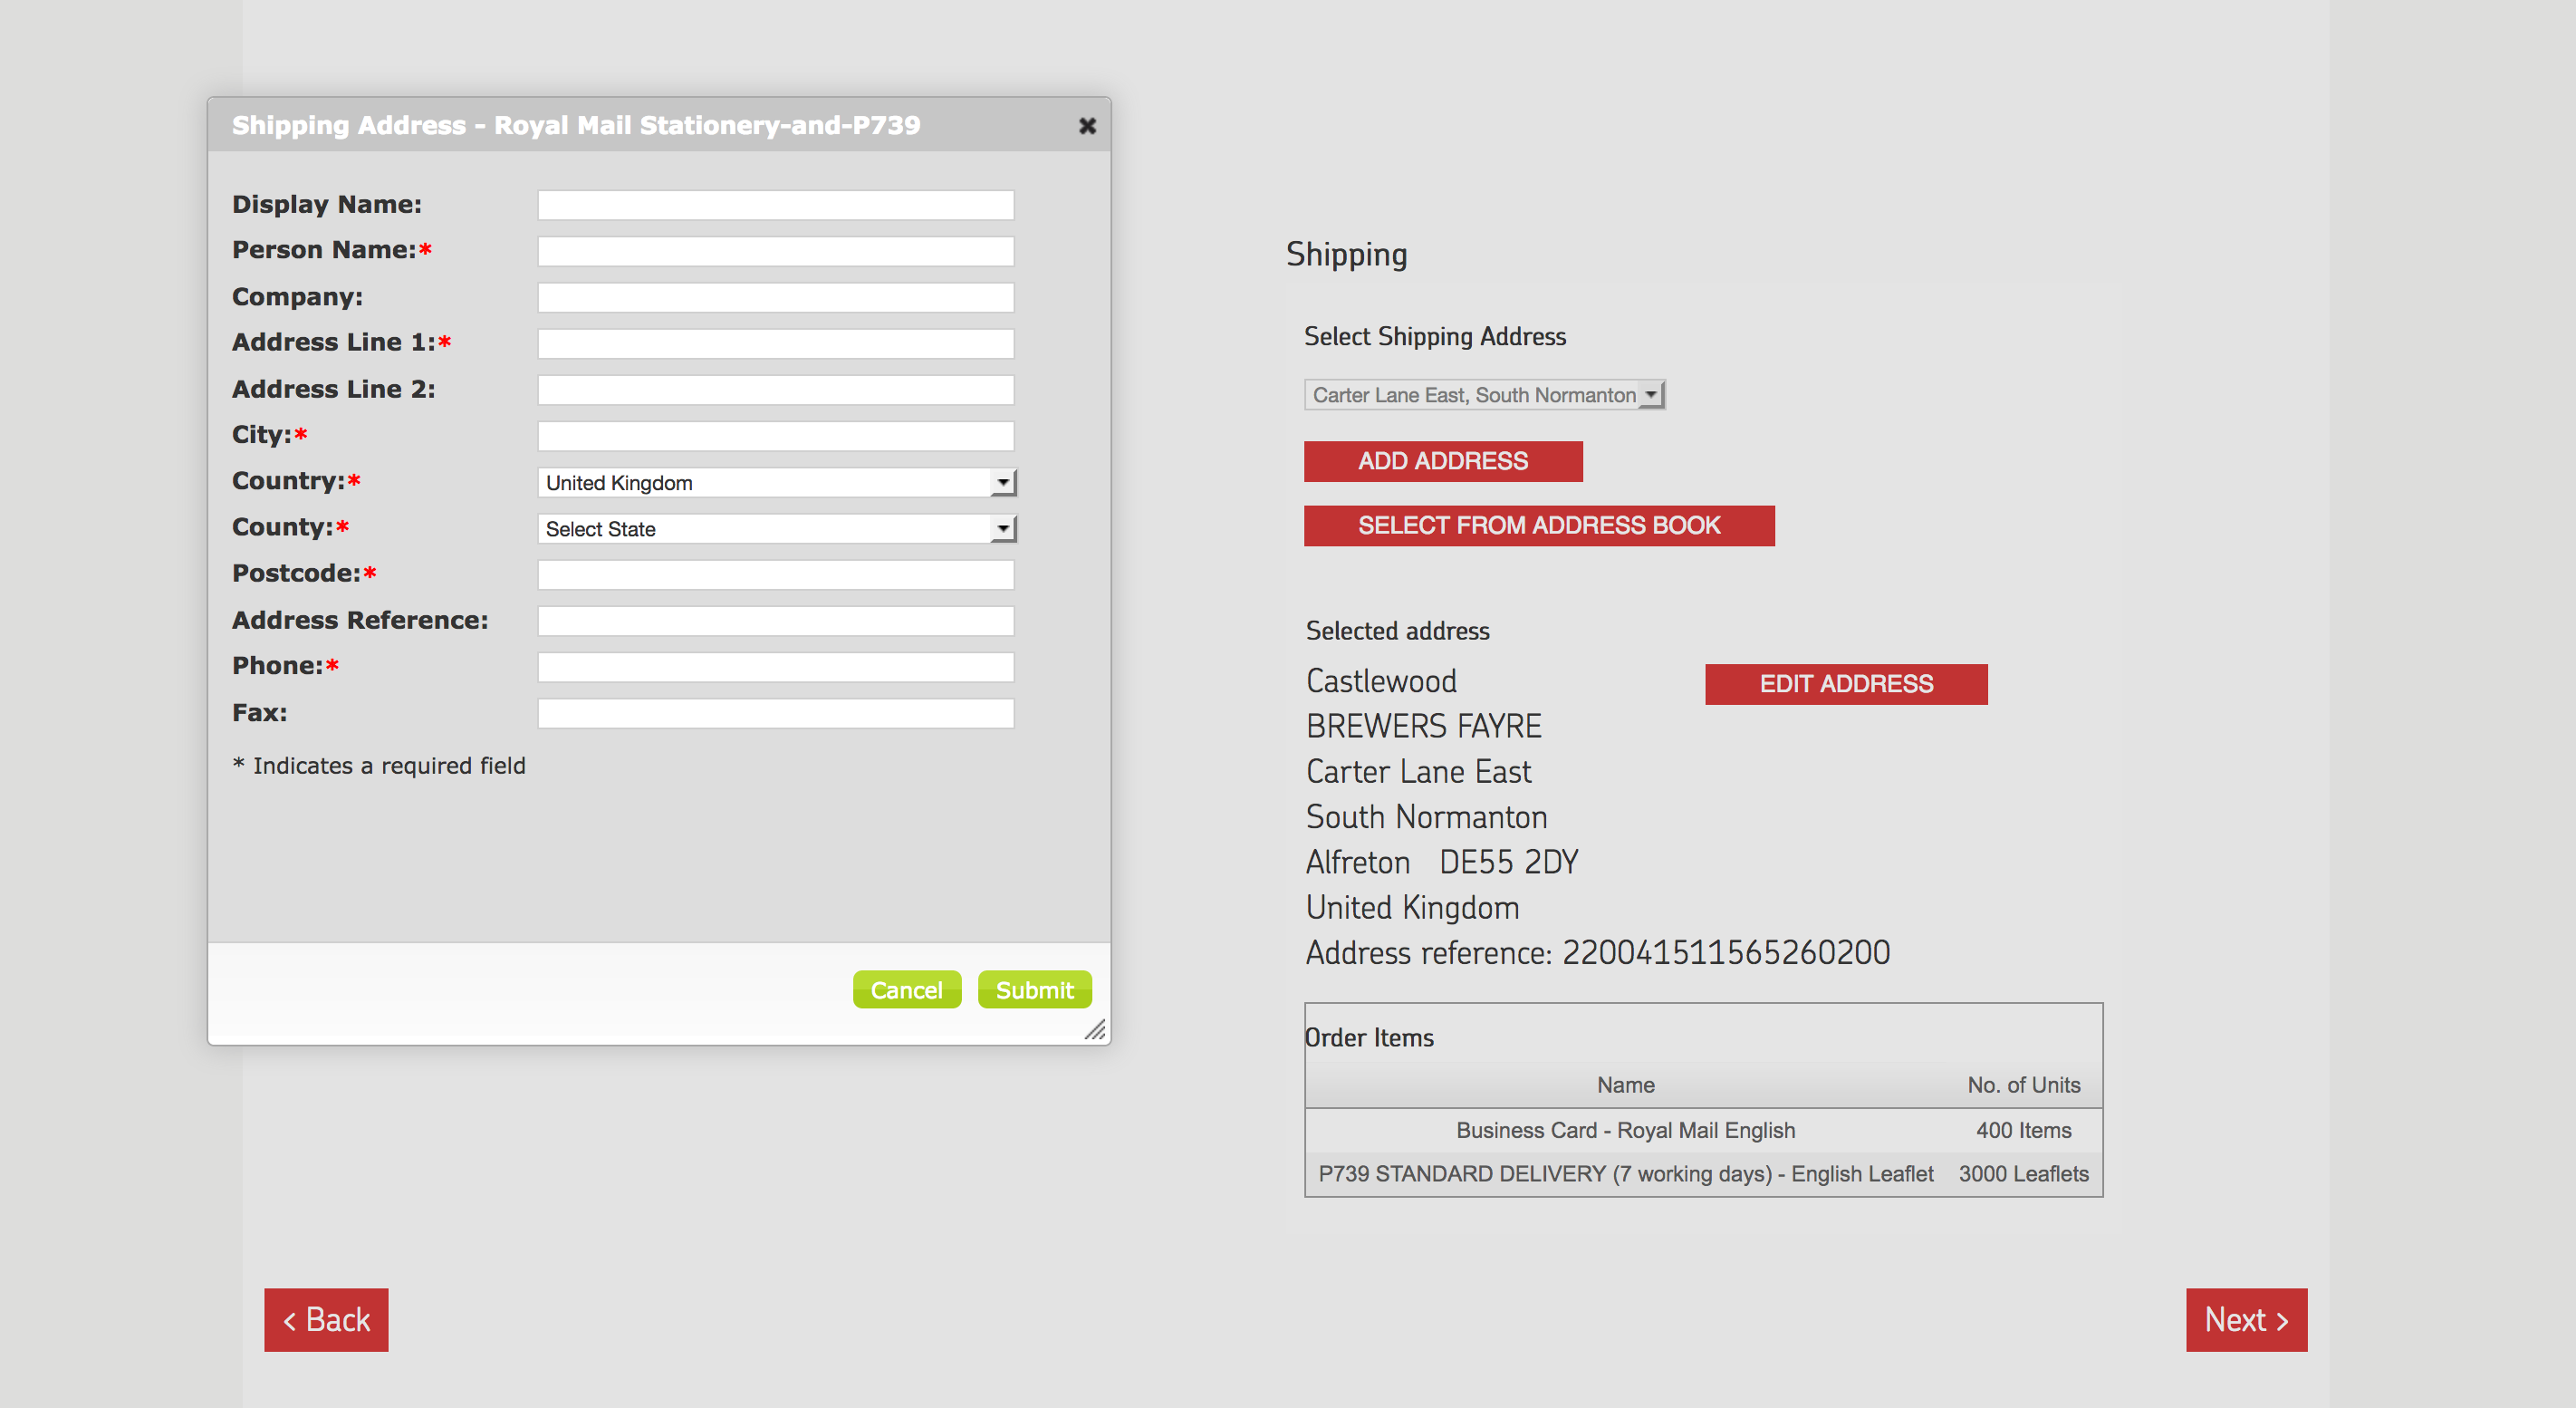
1. The first time you check out, you will need to enter a delivery address, there are optinos for free type, selection from a database and to select any pre-populated addresses.
This page allows the user to see a summary of their order. Obviously you could have ordered more than one item, and if so this would be referenced here.
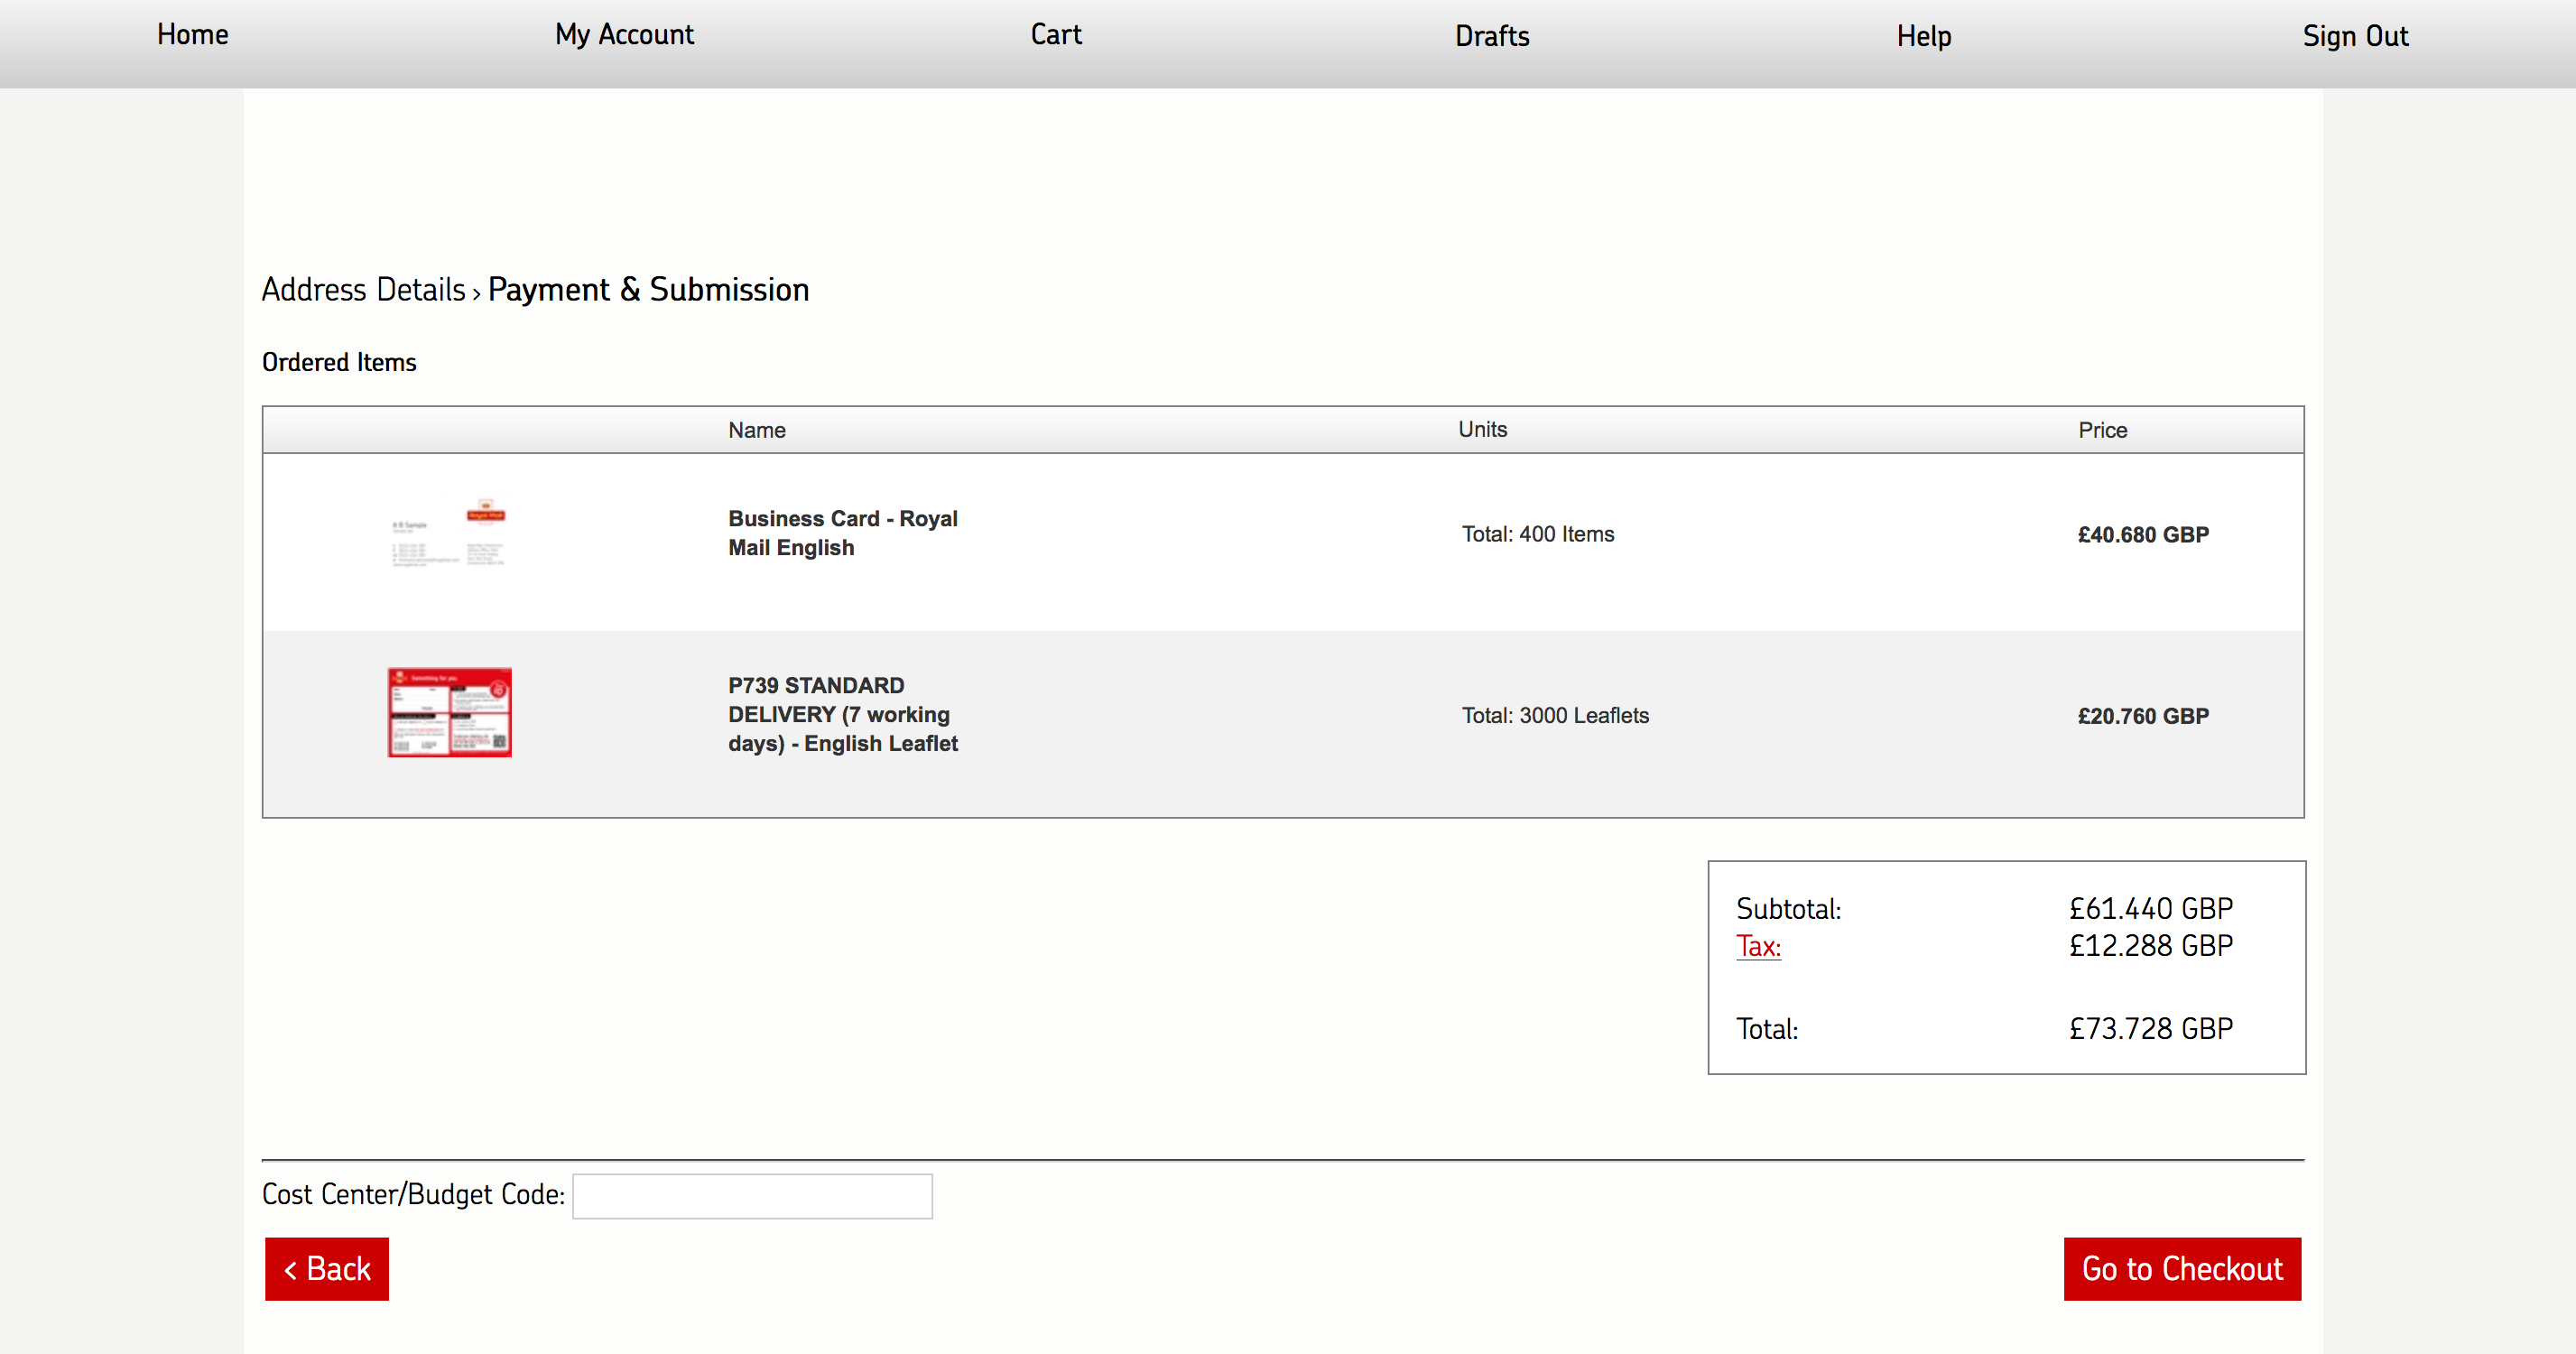
THIS PAGE WILL PLACE THE ORDER OF YOUR PRODUCT LIST WHICH WILL BE SUBMITTED TO THE PRINTERS WHO WILL DESPATCH YOUR ORDER
Therefore you must only Press ‘Checkout’ if you are sure you wish to place the order. If you do not wish to place the order, click on ‘Back’.Order Confirmation
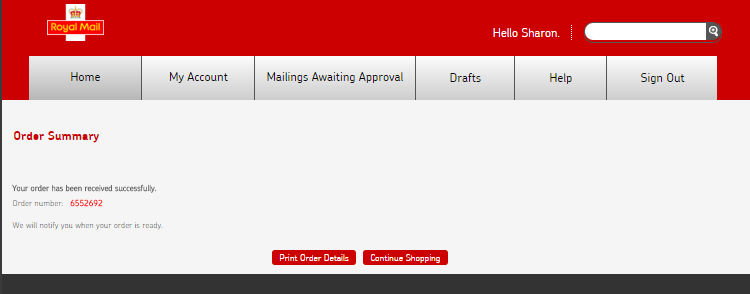
This is the final page in the ‘Creating a Mailing’ process.
1. Order Summary – This screen confirms that your order has been placed and will be produced. The screen shows your order reference number which you can print if you press ‘Print Order Details’. Alternatively you can press ‘Continue Shopping’ if you wish.
2. An ‘Order Confirmation’ email will be despatched to your registered email address confirming this order and reference number.
3. Delivery of the orders: Orders place by 12pm will be delivered to you within the next five working days. Any orders placed after this time will be despatched the following working day, to arrive with the customer six working day after the order was placed.
Toolkit Functions
My Account – Overview
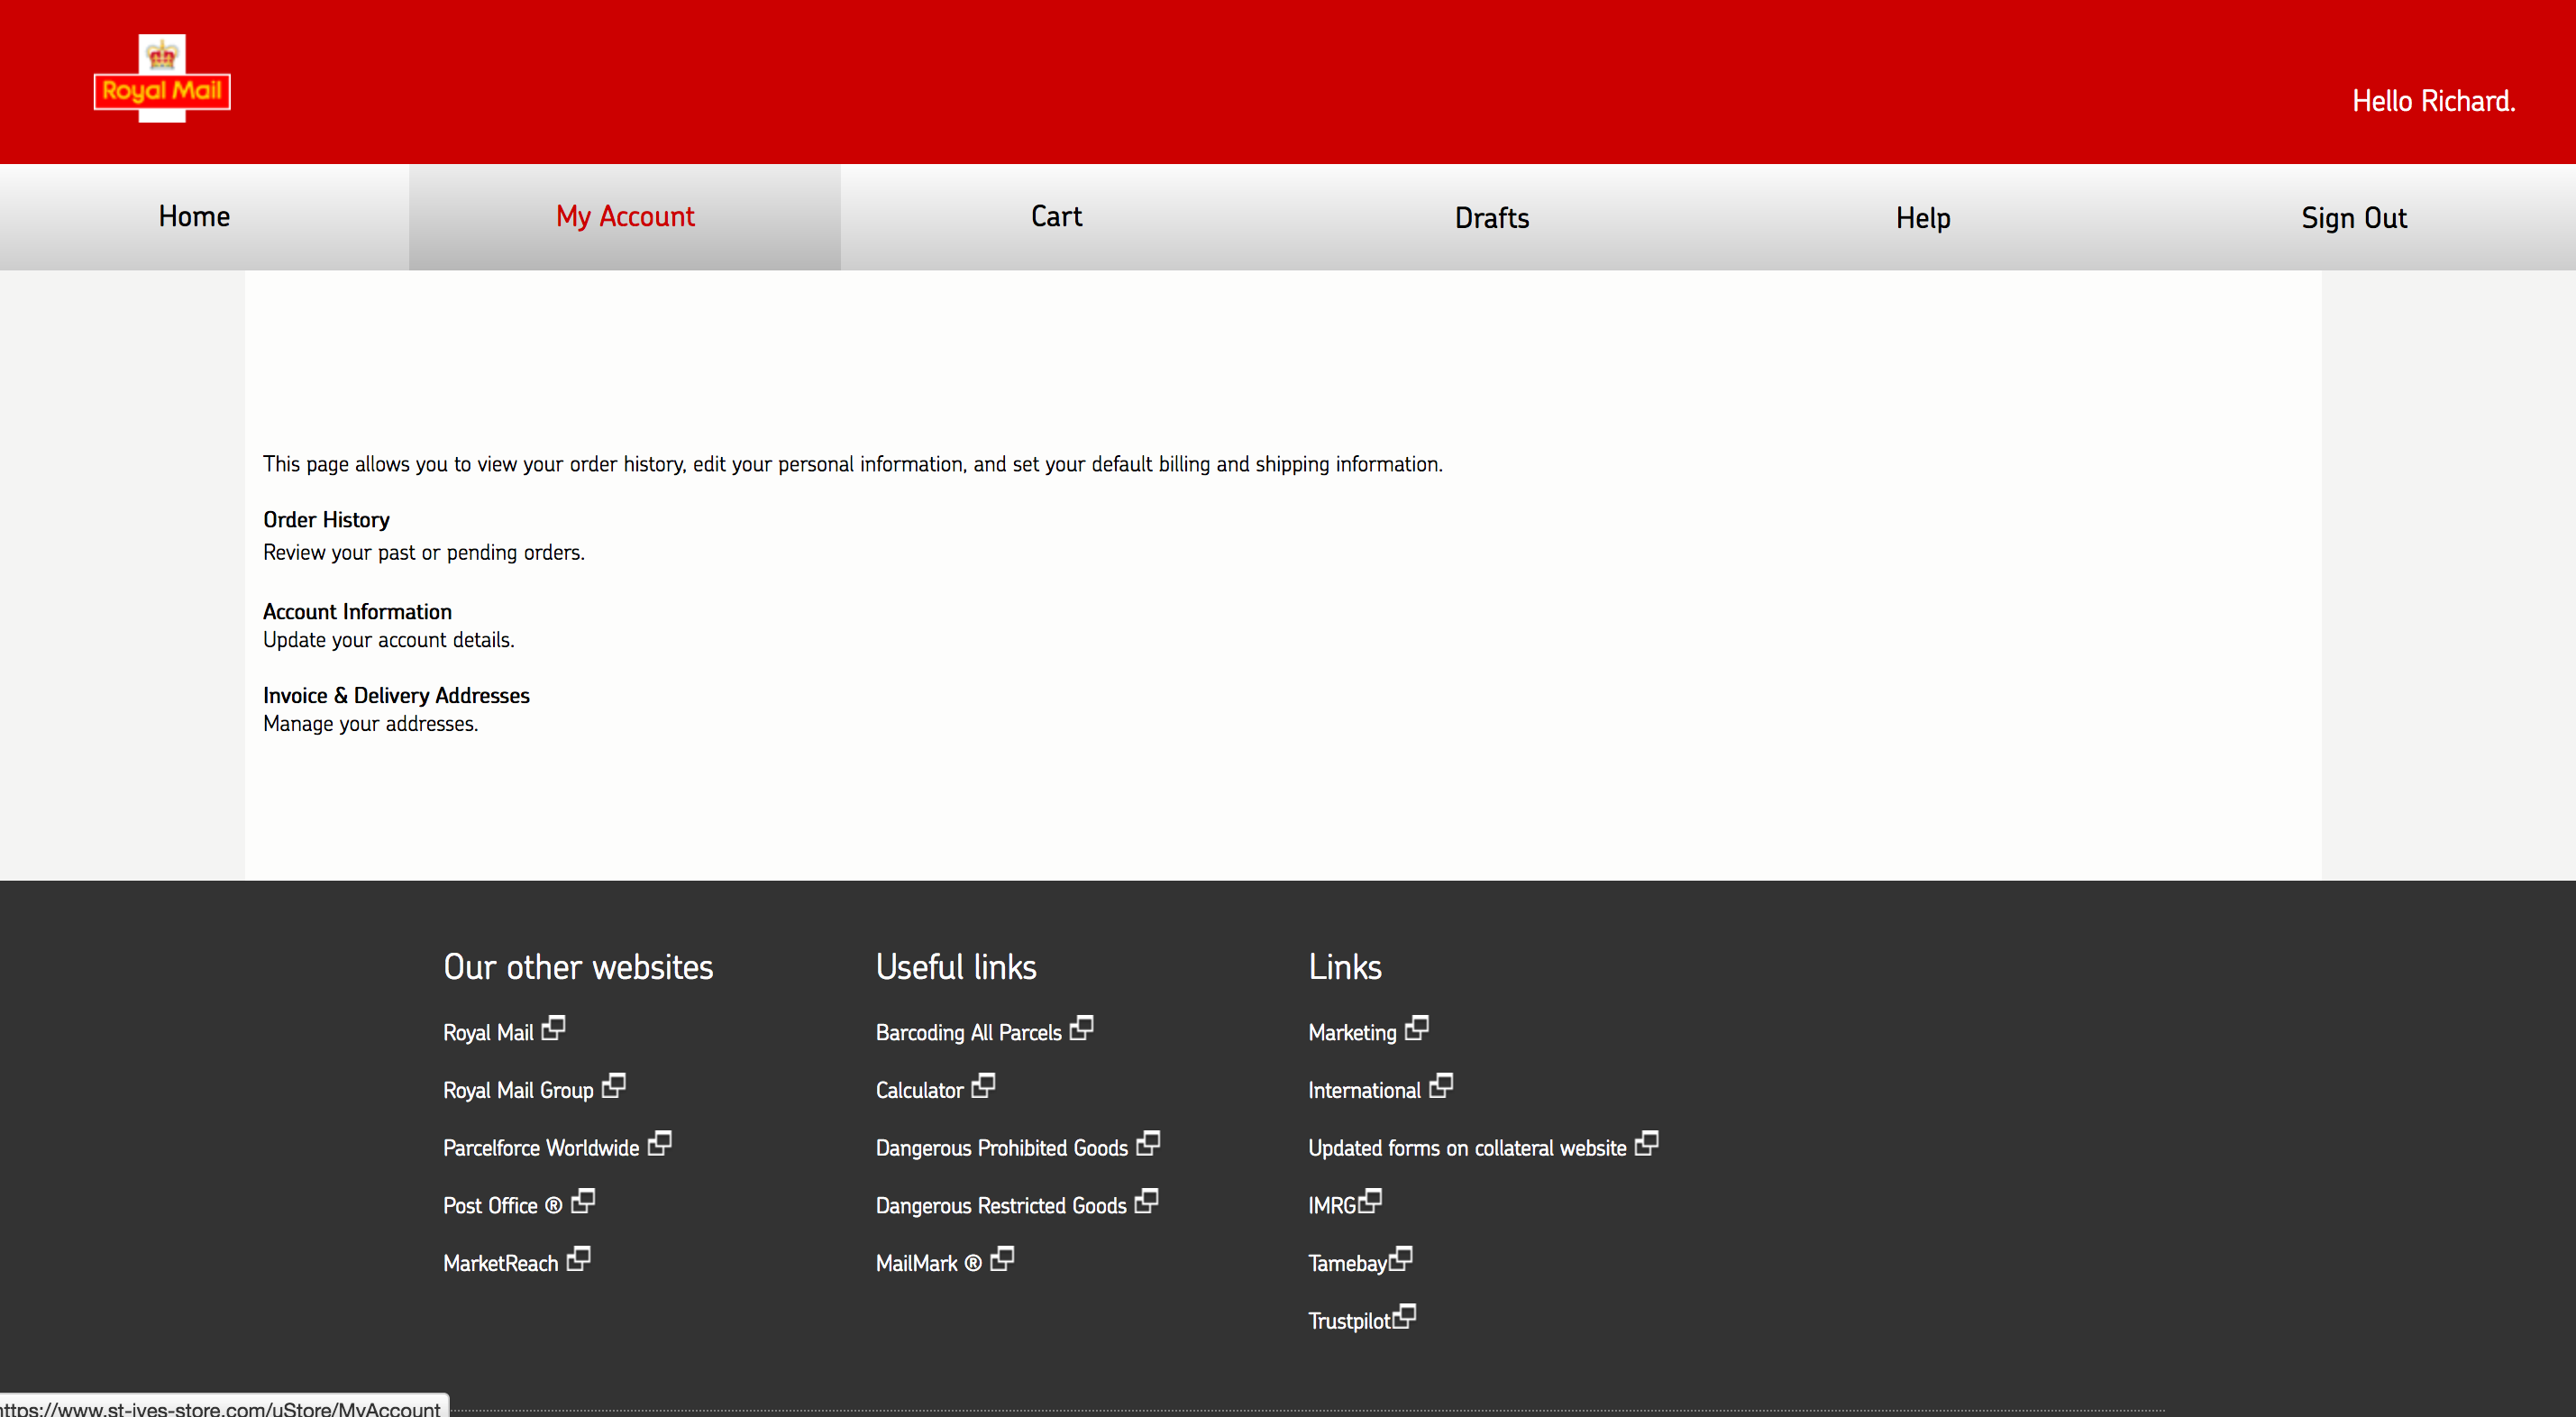
This is a summary page providing you with links to Order History, Account Information and Invoice & Delivery Address.
Orer History
This is where you review your past and pending orders. To view the order simply click ‘Status’ on the order line. This will show the order in detail:
Template/product ordered – by double clicking this you can see the template in full size.
Price – This will always be set to the value of the product you have ordered inclduing the quantity.
Units – This will show the quantity within your order.
Orders/Filters
View orders –You can filter by order status – e.g. orders in progress by selecting from the drop down.
All orders or order ID – You can view all orders or select a specific order by inputting the number. This will then return the specific order.
My Account – Account Information
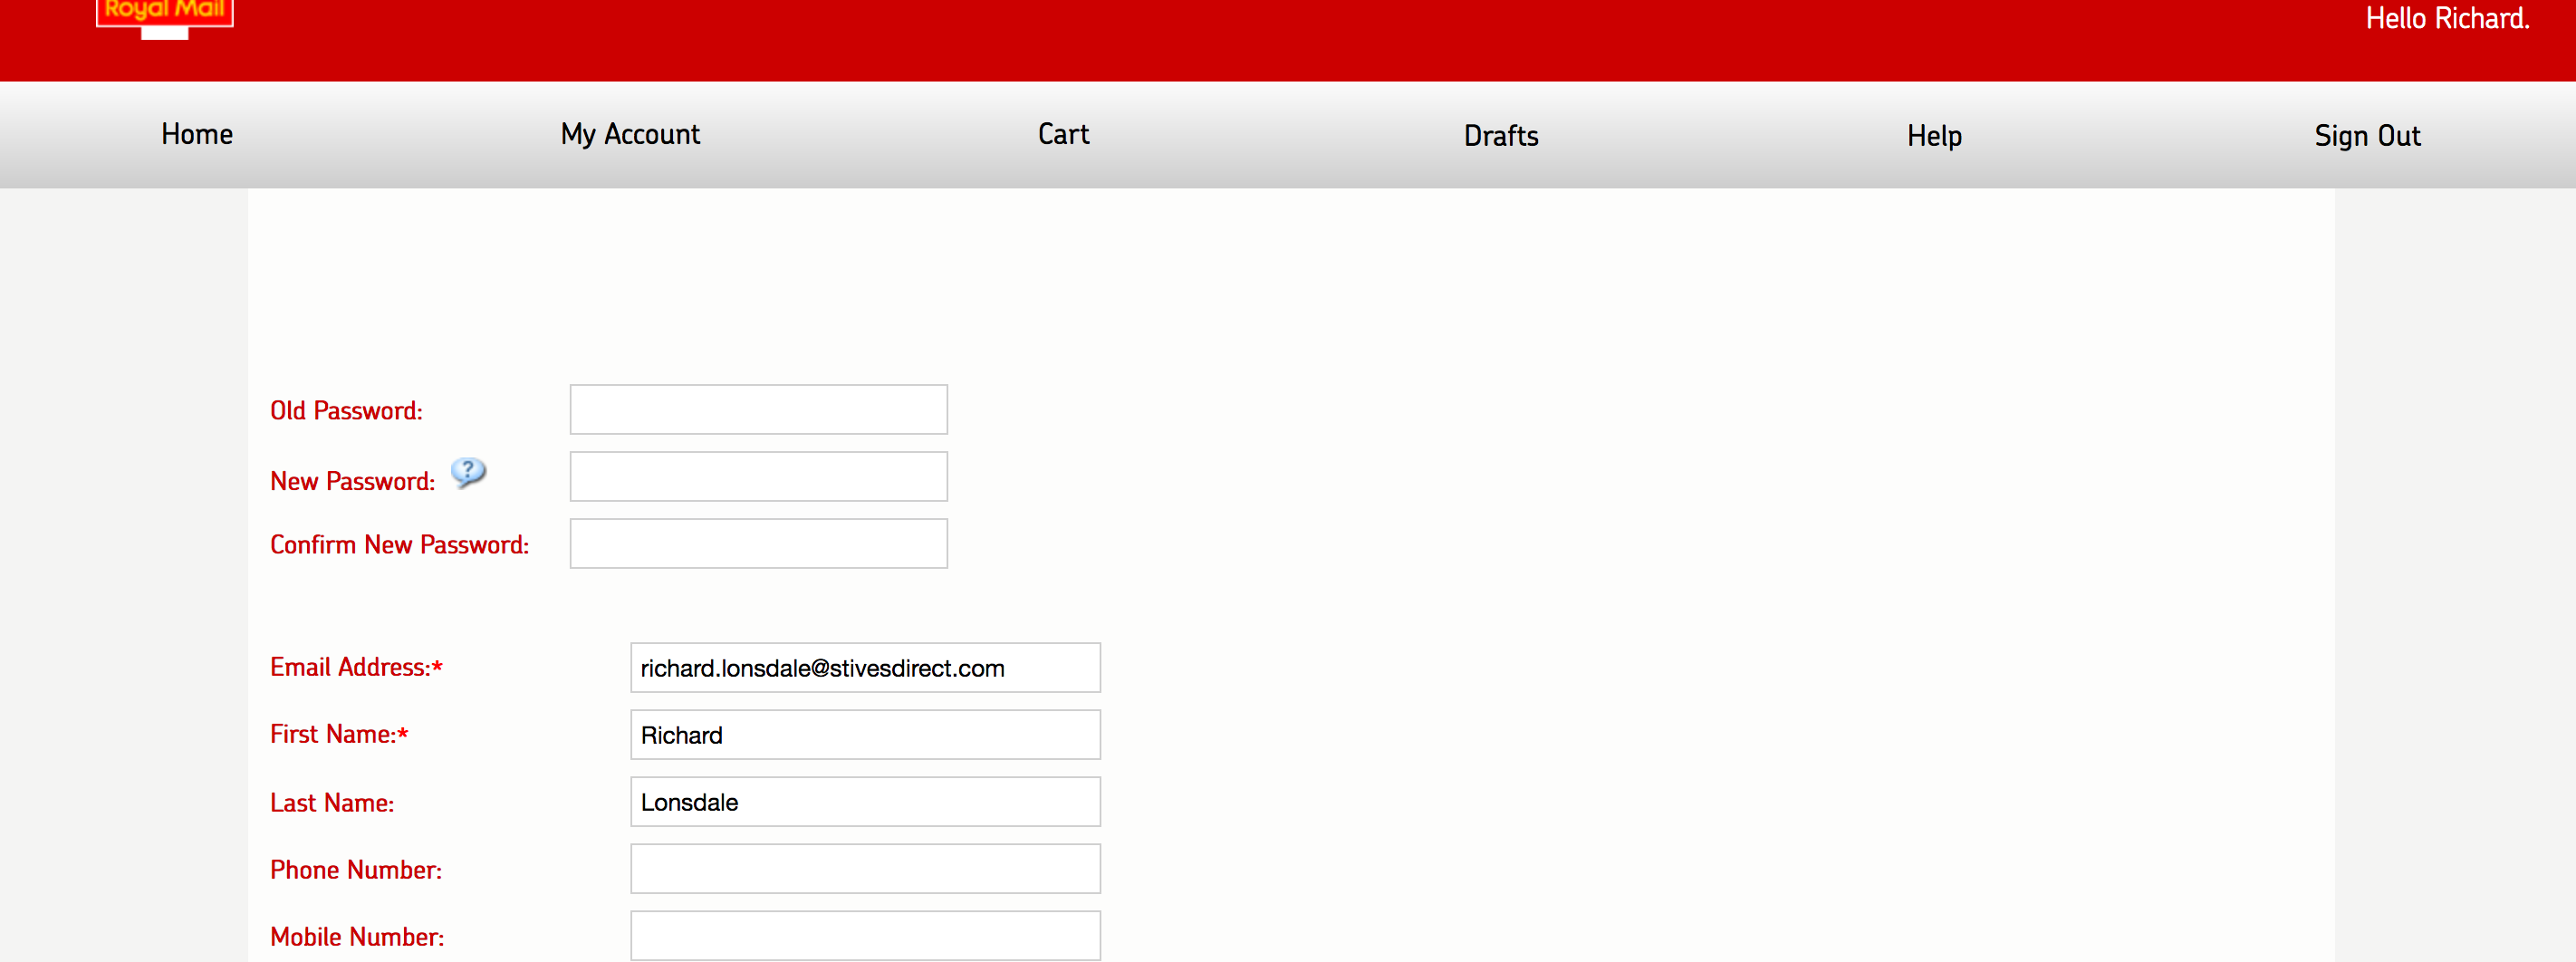
Change Password
• If you press on the ‘Account Information’ Section of the page, it will open the following page. The top section allows you to change your password, by inputting your ‘Old Password’ and then inputting a ‘New Password’ and then re-entering it within the ‘Confirm New Password’ (Please ensure that your password contains at least one digit, one capital letter, one lower case and it is 8 characters/digits in length.
Change Account Information
• Please DO NOT change any other details within this page.
• The reason being all updates reflected in both mail and email communications and this software will only deal with the former.
My Account – Invoice & Delivery Addresses
Invoice and Delivery Address
Both the Invoice/Delivery Address and Recipient lists are for administration purposes only. This allows the tracking of each order placed.
Cart

The ‘cart’ displays all orders waiting your final approval. If you are happy to proceed to check out with ‘All’ of your orders ‘Check out’ button. However:
• If you wish to delete any of your orders you can do so by clicking on the ‘Dustbin’.
• If there are orders that you DO NOT wish to include as part of your existing orders, click on the ‘Trolley’ on the left of the order. This will remove the current item from your existing order, but keep it within the ‘Mailings Awaiting Approval’ part of the Toolkit to be referenced in the future.
• If you wish to continue to create another order, click on the ‘Continue Shopping’ to create it and it will be added to your order.
Drafts
Drafts
This is your work in progress area where you can store unfinished projects and return to it at anytime. This area automatically saves the latest version of a mailer. You are able to continue editing your mailing piece
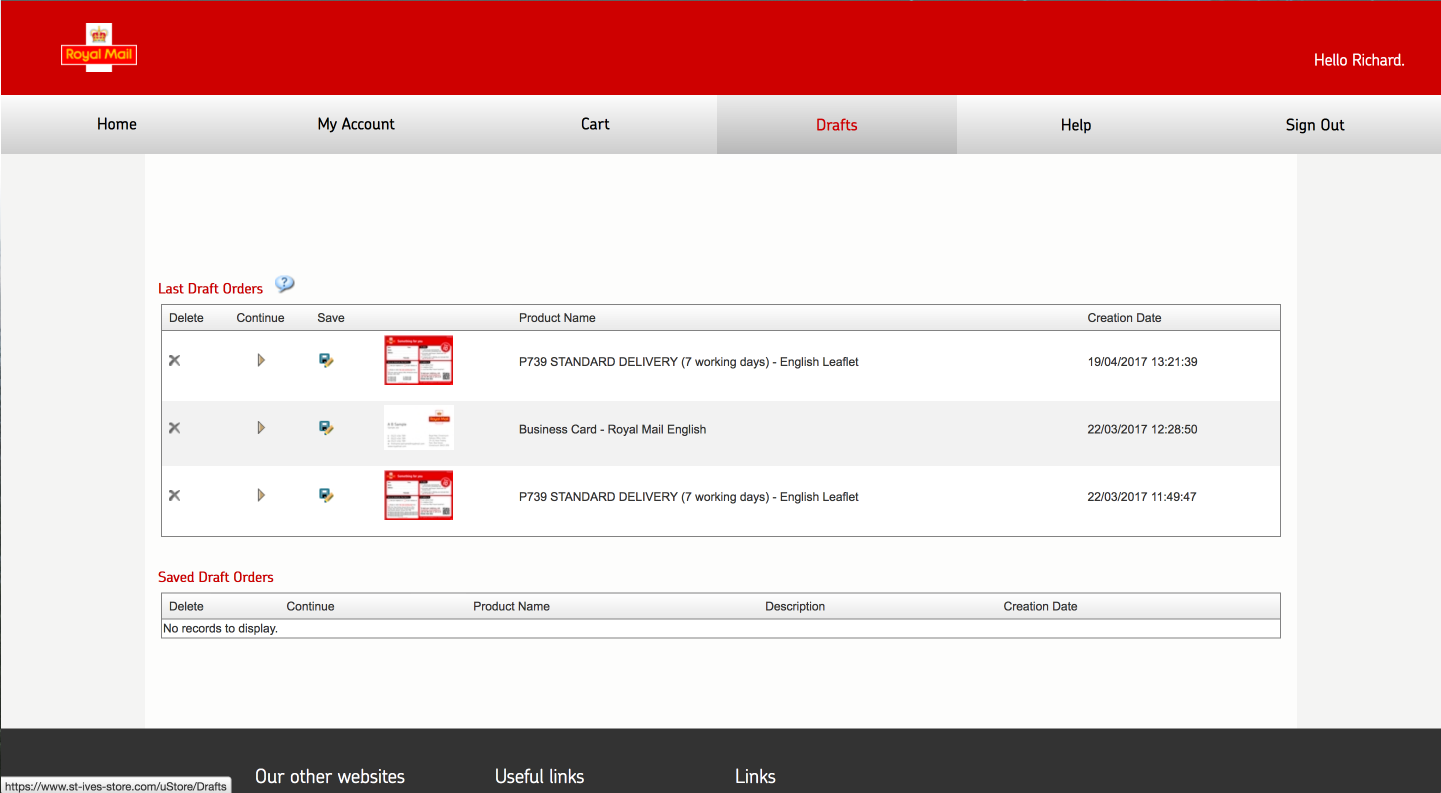
Last Draft Orders
Please note that the software will only ever save up to three draft orders, these being the most recent. Therefore if you are creating artwork to be used in the future it is imperative that you save any drafts within the ‘Save Draft orders’ section otherwise you will loose your work.
Saved Draft Orders
You are given the option to save a template into the ‘Saved Draft’ area. A window will open and you can save a description against your template. You will then be able in the future to go and amend your template or take it to the check out.
Help
This area contains tutorials to help you use the software.